Wireless Recorder Kit Setup Guide
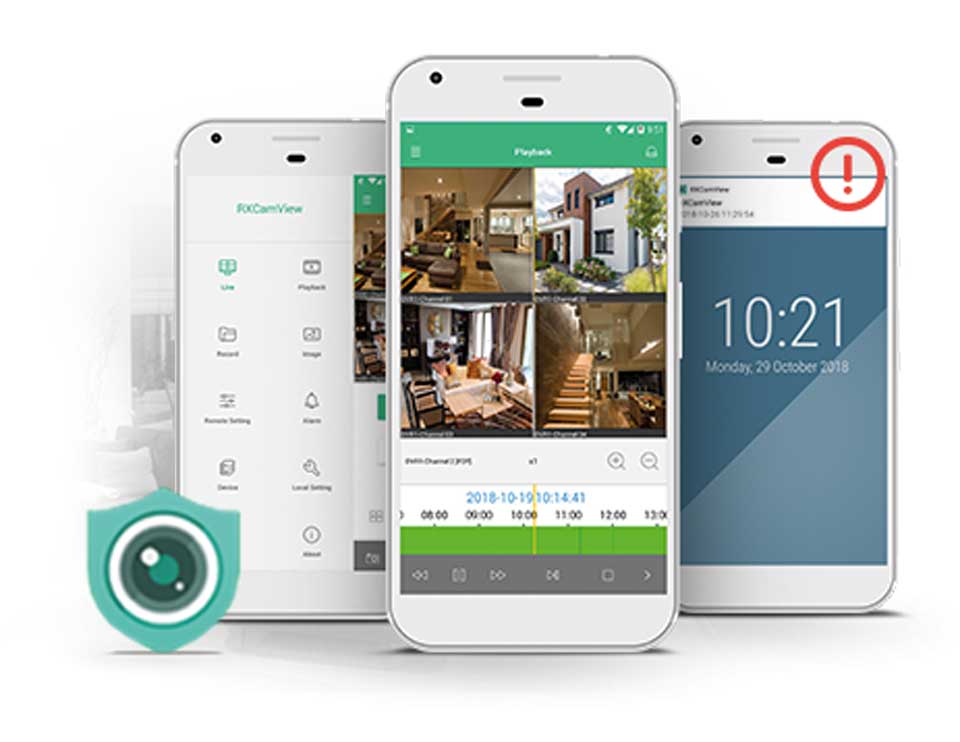
How To: Access Your Recordings On The WLNVR via the RXCamView App
Recordings and images will be stored here.
In the RXCamView App, press the person icon in top left corner to open menu.
Select file list.
Here you can see all images and video files recorded onto the device.
These are easily sharable through the app via your email account or even to Google Drive.

How To: Set Up Email Notifications Via The WLNVR Unit.
The device cannot directly send an email itself – you must give it permission to send from an account you have access to (this doesn’t have to be an email account you use all the time, you could set one up just for the recorder to use).
Once you have the email account set up, make note of the username and password.
Next, find out the SMTP addresses of the mail provider (in this example we will use Gmail, however the details will be different for different email providers. The easiest way to find out is to google it) and keep note of this.
Gmail SMTP server address: smtp.gmail.com
Gmail SMTP port (TLS): 587
Gmail SMTP port (SSL): 465
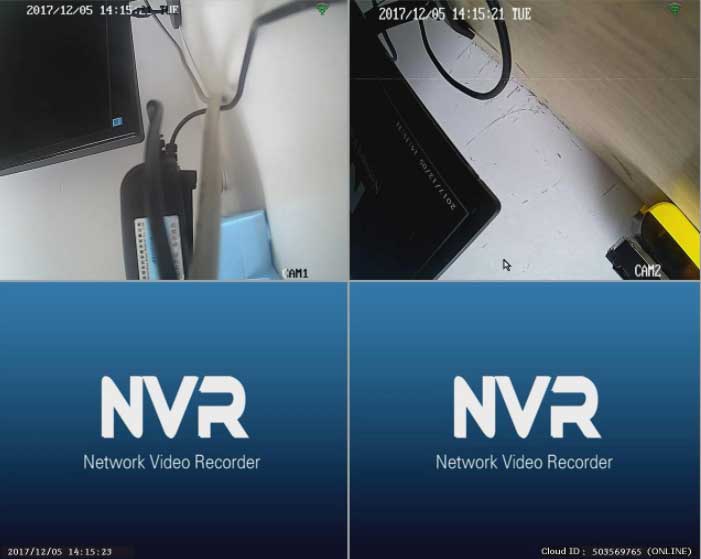
On the main screen of the NVR, right click to bring up the menu along the bottom.
Click the menu icon in the bottom left to bring up the small pop up menu.
Hit set-up and then Network > Email.
Tick the Email box at the top
Change encryption to SSL
Enter the SSL port number in the box below (465 for Gmail)
Enter the SMTP server next (smtp.gmail.com for Gmail)
Next enter the username and password for the account you would like to send from
Enter the name you would like the email to be from in the Sender box (e.g. CCTV Motion Alerts)
Next you can enter up to 3 addresses to receive the email notification.
Using the Interval drop down box, you can set how often these alerts are sent with continued motion alerts.
Finally, you can click through to email schedule, where you can set it to only send alerts for motion at certain days/time but also set exceptions for it to not send an email, e.g. if you know someone will be home at that time.
Wireless Recorder Kit Setup Guide
Read Next : HiSeeu Wireless Camera System installation guide
How To: Set Up The WLNVR From The Box
Initially the NVR will require a screen/monitor with a HDMI input to get it set up, however once all the settings are in place you can happily disconnect it and repower it somewhere else with a wired network connection and it will be controllable via the app!
Repeat for any other cameras – each NVR will support up to 6 cameras.
Setting Up Using The Wizard
Network:
In most cases it will be fine to leave the network settings on default
DCHP will allow your router to automatically assign the device it’s IP address
Changing these settings is for advance networking only
Date & Time:
Set current Date and Time along with any format preferences
Here you can also set daylight savings time
HDD:
Here you can format the HDD and any SD cards inserted by selecting the small circle to the right of the memory device and then clicking format HDD.
This may take several moments
Resolution:
Here you can change the resolution to suit your monitor or screen or to lower the frame rate to save on disk space (this may lower image quality)
Mobile App:
Next you can add the device to the RXCamView App by opening the app, adding device and scanning the QR code.
Summary:
Here you can quickly review your settings before clicking finish and saving.
Remember to check the box to save the wizards settings.
How To: Pair Your Cameras To The WLNVR
Pair your cameras by pressing the small white button on the back of the main camera unit, the red lights will flash to show that it is in pairing mode.
On the screen of the recorder, hover over one of the camera channels and press the sideways camera icon in the middle at the top.
This will pair the camera to that channel on the recorder.
Repeat for any other cameras – each NVR will support up to 6 cameras.
How To: Access The Settings Section On The WLNVR
In the bottom left of the options screen (bring up by right clicking) select the cog for settings.
Here you can set up recording schedules, motion alarms as well as many other camera settings.
How To: Access Recordings and Playback On The WLNVR
On the main screen, right click to bring up the bottom menu.
Select the playback option.
Here you can search for recordings by modifying the date/time as well as selecting the cameras you want to see footage from with the tickbox next to the channel with that camera on.
Once you have video files from the times and places you want to see you can either double click them to go in and view the file or select one or more using the tickbox in the top right.
Once selected you can use the play or backup options along the bottom.
Backup will allow you to export them to a removable USB hard drive.
How To: Enable Push Notifications On The WLNVR via the RXCamView App
In the RXCamView App, press the person icon in top left corner to open menu.
Select notifications.
Select the cog in the top right corner and turn on notifications for your device by using the toggle.

Once switched on, press the cog to configure which notifications you would like; HDD, Motion & low battery.
Remember to Save.
How To: Enable Email Notifications On The WLNVR via the RXCamView App
In the RXCamView App, press the person icon in top left corner to open menu.
– Select Remote Setting.
– Select your device.
– Go to Motion
Here you can choose with camera you would like to modify one by one.
– Enable email notifications.
Here you can also change which areas of the cameras view will trigger the alarm as well as distance setting.

How To: Set Up A Recording Schedule For The WLNVR via the RXCamView App
- Open the RXCamView App,
- Click on the person icon in top left corner to open menu.
- Select Remote Setting.
- Select your device.
- Here you can edit many settings of the recorder.
- Go to record schedule
- Click Setting in top right.
- Here you can choose the days and cameras that will record on motion.
- Remember to save!
Handy Tip: you can press copy on the day or camera to instantly copy your schedule to other days.


How To: Enable Motion Alarms On The WLNVR via the RXCamView App
In the RXCamView App, press the person icon in top left corner to open menu.
– Select Remote Setting.
– Select your device.
– Go to Motion
Here you can choose with camera you would like to modify one by one.
– Choose how long you would like your NVR alarm to sound for.
– Choose how sensitive you would like the detection to be
– Enable email notifications.
Here you can also change which areas of the cameras view will trigger the alarm as well as distance setting.

When setting up the area for the motion detection any boxes highlighted in red is where the camera will look for motion and any grey/clear boxes will ignore motion detection which happens in the area.
If you are having problems I would recommend highlighting the entire grid red testing it and slowly removing areas you don’t want to be covered.
How To: Take Snapshots And Recordings On The WLNVR via the RXCamView App
While watching a live camera view you can hit the camera or video recorder icon on the bottom of the screen to take a picture or record a video. (See below image)
These will be saved in your file list.

How To: View Multiple Cameras On The WLNVR via the RXCamView App
On the main app screen, if you press the centre icon of a 4×4 grid you will bring up the camera viewing options.
Select the square you would like to add a camera to, then select that camera from the device list below.
Repeat until all cameras have been added.


Add Comment