Table of Contents
ToggleTroubleshooting Physical Cameras in 3 steps
How camera disconnect alert works?
- Every camera sends a heartbeat every 10s.
- If the camera has not sent a heartbeat in 5min or more, the camera is considered offline
- If a customer does not see the camera go offline after 5min, it is because we do not push updates to the dashboard. It will require them to refresh the page.
- Every minute, we scan cameras and look at the timestamp of their last heartbeat. if the time elapsed since the last successful heartbeat is greater than the threshold, we send a camera disconnect alert. In theory, the maximum time a camera could be off before a disconnect alert is 11 minutes.
Physical Cameras We hope this article was useful to you, please leave us a comment or feedback as it will help us improve our customer support center.
Load More : Troubleshooting Guide for Mechanical Pan and Tilt
Troubleshooting Cameras going offline
This guide will help you troubleshoot in the event your cameras go offline.
Regardless of whether these steps resolve the problem, we’d like you to open a ticket with Support so that we can perform a root cause analysis.
- Check the status of your Spot appliance. Navigate to your dashboard and verify that the Spot appliance is indeed still connected. Also, verify if all your cameras are offline or certain ones.
1a. In the event the appliance is not connected. Please double-check your connections and reboot the appliance.

- If the appliance is connected, then power cycle the POE network switch. It should look something like this:
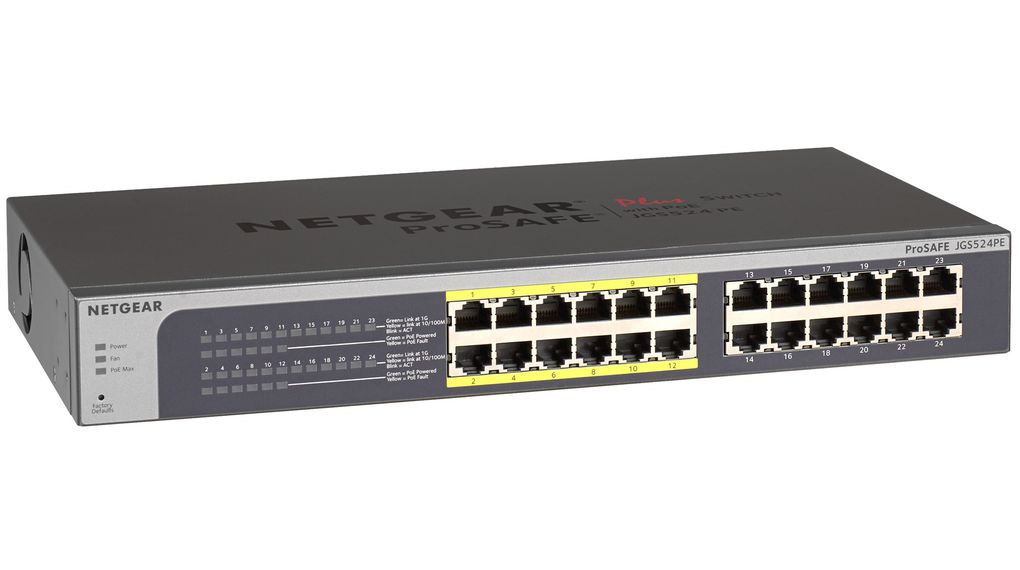
Unplug the switch for 20 seconds, then plug it back in again. It will usually take the camera about 5 minutes to show as connected. - If the above steps haven’t resolved the issue, check:
- If the camera’s connection to the switch is properly connected
- Are all the the connections on the switch showing as off (no flashing lights) or just some
- Verify the lights flashing on the switch
4. As a last ditch effort, factory reset the camera

In the event the cameras still show offline, please reach out to our Spot AI support team
Essential information to provide in the ticket:
- A detailed problem statement. e.g.:
“8 cameras offline at Holmes Car Wash at the Baker Street location”
Optional useful information (Providing as many details as you can will speed up the solution):
- The make & model number of your non-Spot equipment (include cameras and networking equipment like your switch).
- The IP address of one of the offline cameras.
- Are the cameras connected to a DHCP server (e.g. on the same subnet as the router)?
- The login credentials for the cameras. If you don’t know the login credentials, check whether they are stored on the existing NVR.
- The DHCP range from your router.
- Provide a diagram of your network to show how the appliance, cameras, switch, and router are connected to each other.
Example 1 (flat network):

Example 2 (segmented/hierarchical network):

We hope this article was useful to you, please leave us a comment or feedback as it will help us improve our customer support center.
Common Camera Problems and Solutions
This document is most helpful for IT staff and on-site installation personnel.
A typical class of problems is encountered when connecting and operating video camera systems. Below we have outlined a few of them and how to troubleshoot the issue.
Problems and Troubleshooting Solutions
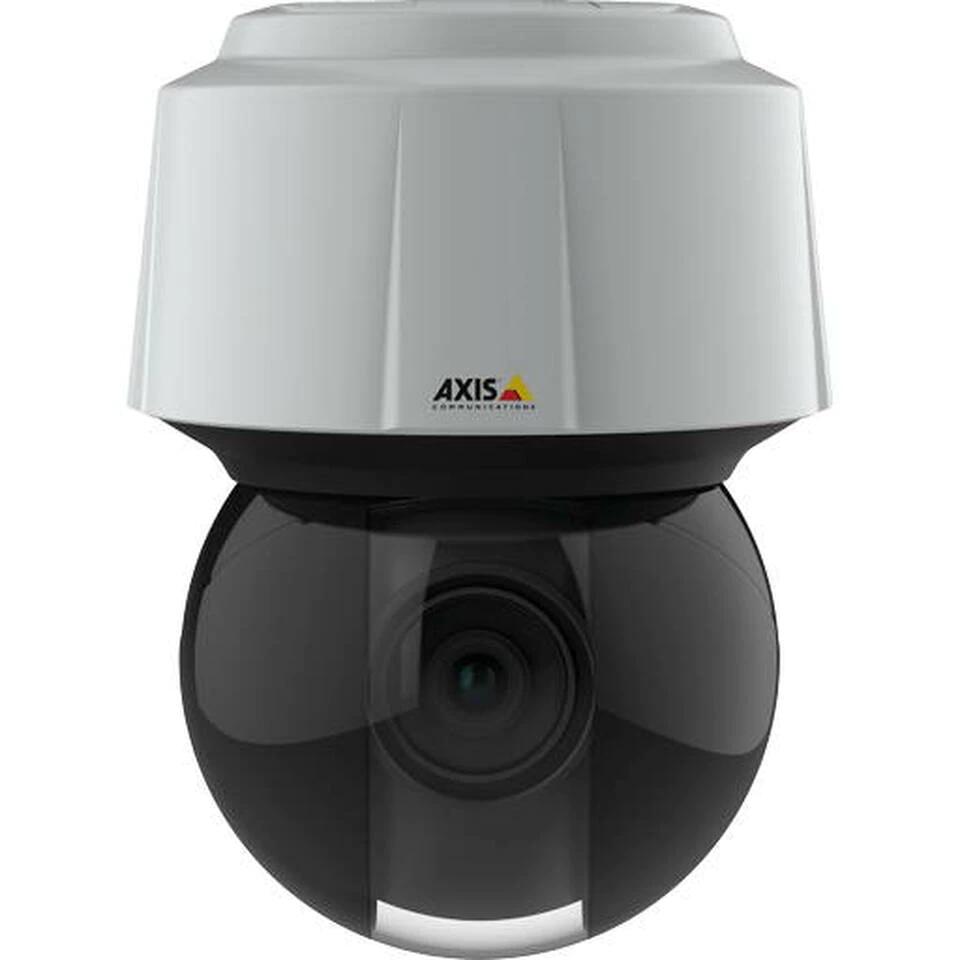
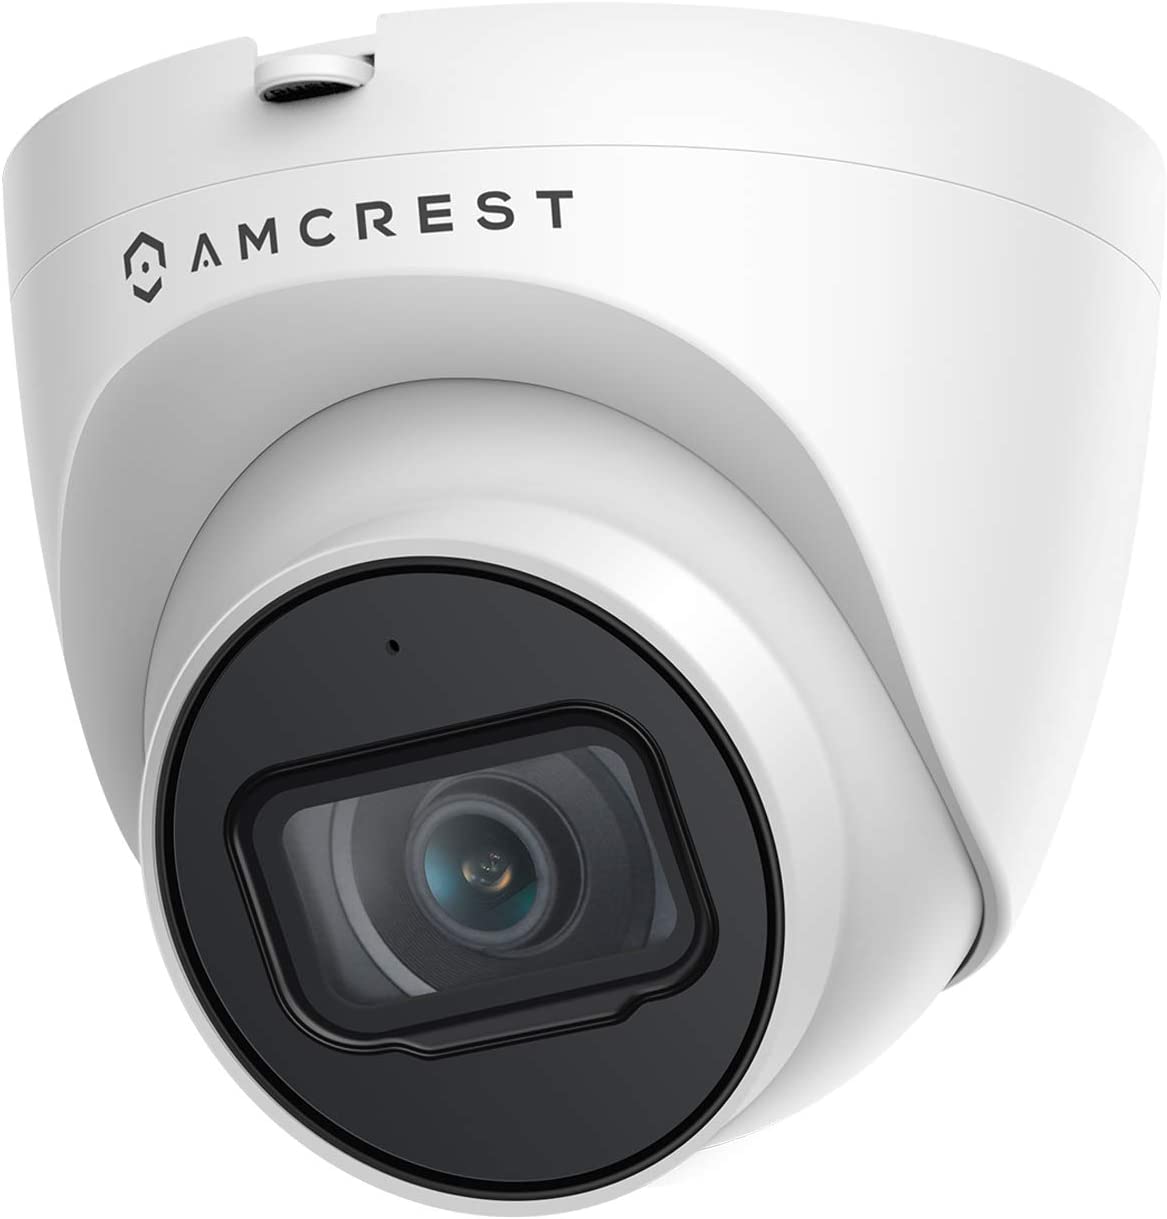
How are you connected to the camera?
- The camera may be on a different IP address range compared to what their actual computer may have for an IP address.
- Connection is essential because if they are directly connected to the camera, we will want to know if they have their firewall enabled and if their wireless adapter is enabled on their computer. This is an issue because if the wireless adapter is enabled in Windows Vista or higher, it places priority on the wireless adapter. Therefore a wired connection could be overlooked.
- The camera could be connected to a managed switch with VLANs, and thus, you would want to know if their computer is connected to the same VLAN.
- The camera could be mounted on a pole and not terminated correctly.
- The camera could be at a remote site and not local to the user. ACM cannot find cameras on the internet.
Can you ping the IP address of the camera? What IP address are you pinging to? What is the IP address of your computer?
- Knowing the IP address of the customer’s computer is vital in determining if they are on the same logical network/subnet as the camera(s).
- Receiving a reply from the IP address means we have a connection to the camera. The next step should be accessing this IP address within a web browser (preferably Firefox).
- Receive Request Timed Out; you cannot communicate to the camera’s IP address, and more troubleshooting is needed.
- Receive Destination Host Unreachable. Microsoft Windows does not know where to route the ping or traffic to the camera(s) IP address. Thus a check of the IP settings on Windows and a reboot is necessary to resolve the issue. If it does not, the customer will need to speak to their IT networking staff to resolve the issue with their computer.
How is the camera powered?
- Make sure the camera can accept PoE or DC. Make sure only one power source is being used and not both. Using both can cause issues with connectivity and power failures.
- The camera may not be powered, or it might be receiving too little power. Make sure to use the correct PoE type or power source recommended by the manufacturers. Please see the PoE types chart below.

- If a switch provides power, ensure the peak wattage has not been exceeded.
- For some IUP camera manufacturers. Cisco PoE switches with CDP enabled may cause camera discovery to fail. CDP will need to be disabled. In some cases, as a solution, LLDP will need to be enabled on some Cisco switches.
Were you able to connect to the camera beforehand?
- If you could connect to a camera before an incident, determine if any changes had occurred to a network or local computer settings.
- New updates to Windows, Firewalls, or Anti-virus programs may interfere with the communication to IP cameras (such as no live video or camera discovery).
- Local versus Remote. Differences between the two are vastly different, as remote access relies on Port Forwarding, Internet Access, and Bandwidth. To verify ports are open, we suggest using websites such as ping.eu for external port check testing.
Is this a new installation or an existing installation?
- New versus existing installation will determine if the camera is either factory default or has an existing IP address and a custom password.
- A camera factory default will be necessary if a camera password is unknown. (Please check with the camera manufacturer for details).
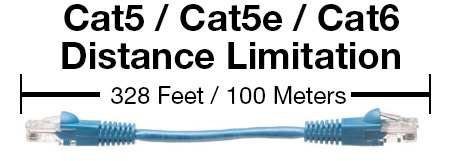
- New installations require questions on the distance from the switch. Ethernet cables cannot exceed 100 meters or 326 feet; otherwise, PoE and data transfer will be heavily affected.
- New installations also require asking if a DHCP server exists on the network. If DHCP is available, each camera will automatically acquire an IP address. Otherwise, a manual IP configuration will be needed.
- For all existing installations where cameras can not be discovered or are no longer connecting, please ask yourself the following questions and have all the answers ready when creating a support ticket.
- Was there a power surge?
- Was there a lightning strike?
- Was there a rainstorm?
- Is the camera indoors or outdoors?

(Note: Lightning surge damage is a prevalent issue that most outdoor cameras face when poorly performed installations. Please follow all outdoor camera manufacturer’s recommendations and use surge protectors as indicated.
Is your anti-virus/firewall software disabled?
- Anti-virus and firewalls have been known to cause issues with finding the cameras or blocking users.
- Specific versions of Kaspersky/NOD32/ McAfee software have been known to interfere with software products and network discovery; therefore, exceptions should be made so that SpotAi Dashboard can find all cameras.
We hope this article was useful to you, please leave us a comment or feedback as it will help us improve our customer support center.
Common Video Feed Issues and Fixes
This document is most helpful for the IT staff and on-site installation personnel.
Pink or purplish hue image
The left image has a defective IR-cut filter, while the right image has a functioning IR-cut filter.
This is due to the IR cut-filter being out of place which can happen due to shipping. The mechanical IR cut-filter can move back and forth by a small metal hook and that hook can jump out of the eyelet during transportation. You can try enabling/disabling the IR cut-filter a few times under Camera Settings. Typically the only resolution would be to open an RMA for the camera.
When the IR cut filter is in the wrong position it produces a pink hue image. This is the reason why we switch to Black & White when the filter in the off position.
Purple Fringing
The blue frames in the image are called purple fringing also known as a chromatic aberration which we can describe as “an out of focus purple ghost image around parts of a digital picture with high contrast”. This is mainly due to the optics, but also due to the sensor and processing.
You could try to set the minimum shutter to a higher value e.g. 1/100 (or try different values). This is done in Camera settings > Exposure priority > choose Motion or Low noise (it doesn’t matter in this case) and change the Shutter min value. This should force the iris to step down. The use of P-iris reduces this phenomenon but it does not eliminate it.
Please note that the priority we give when choosing the appropriate lens is in:
- Minimizing the image artifacts that affect the video surveillance
- Sharpness
- Good light sensitivity
- Object detection and recognition
This purple fringing does not affect the scene in a way that makes it more difficult to identify persons or objects.
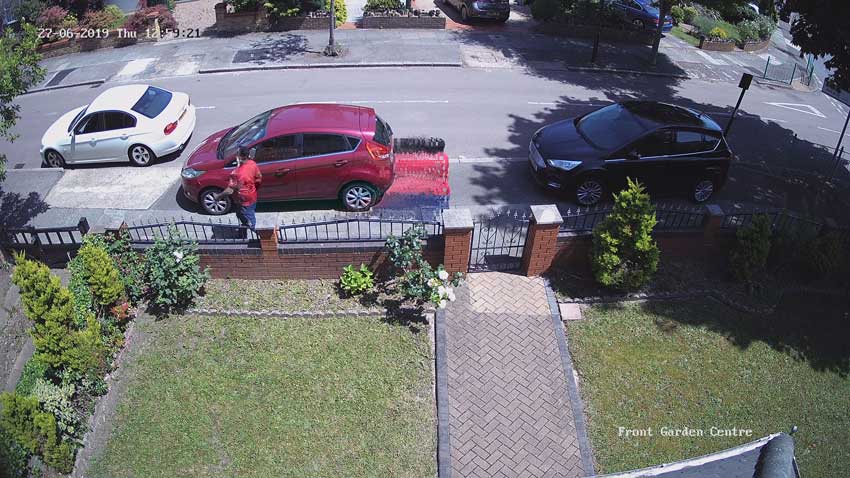
Motion Blur (Ghosting)
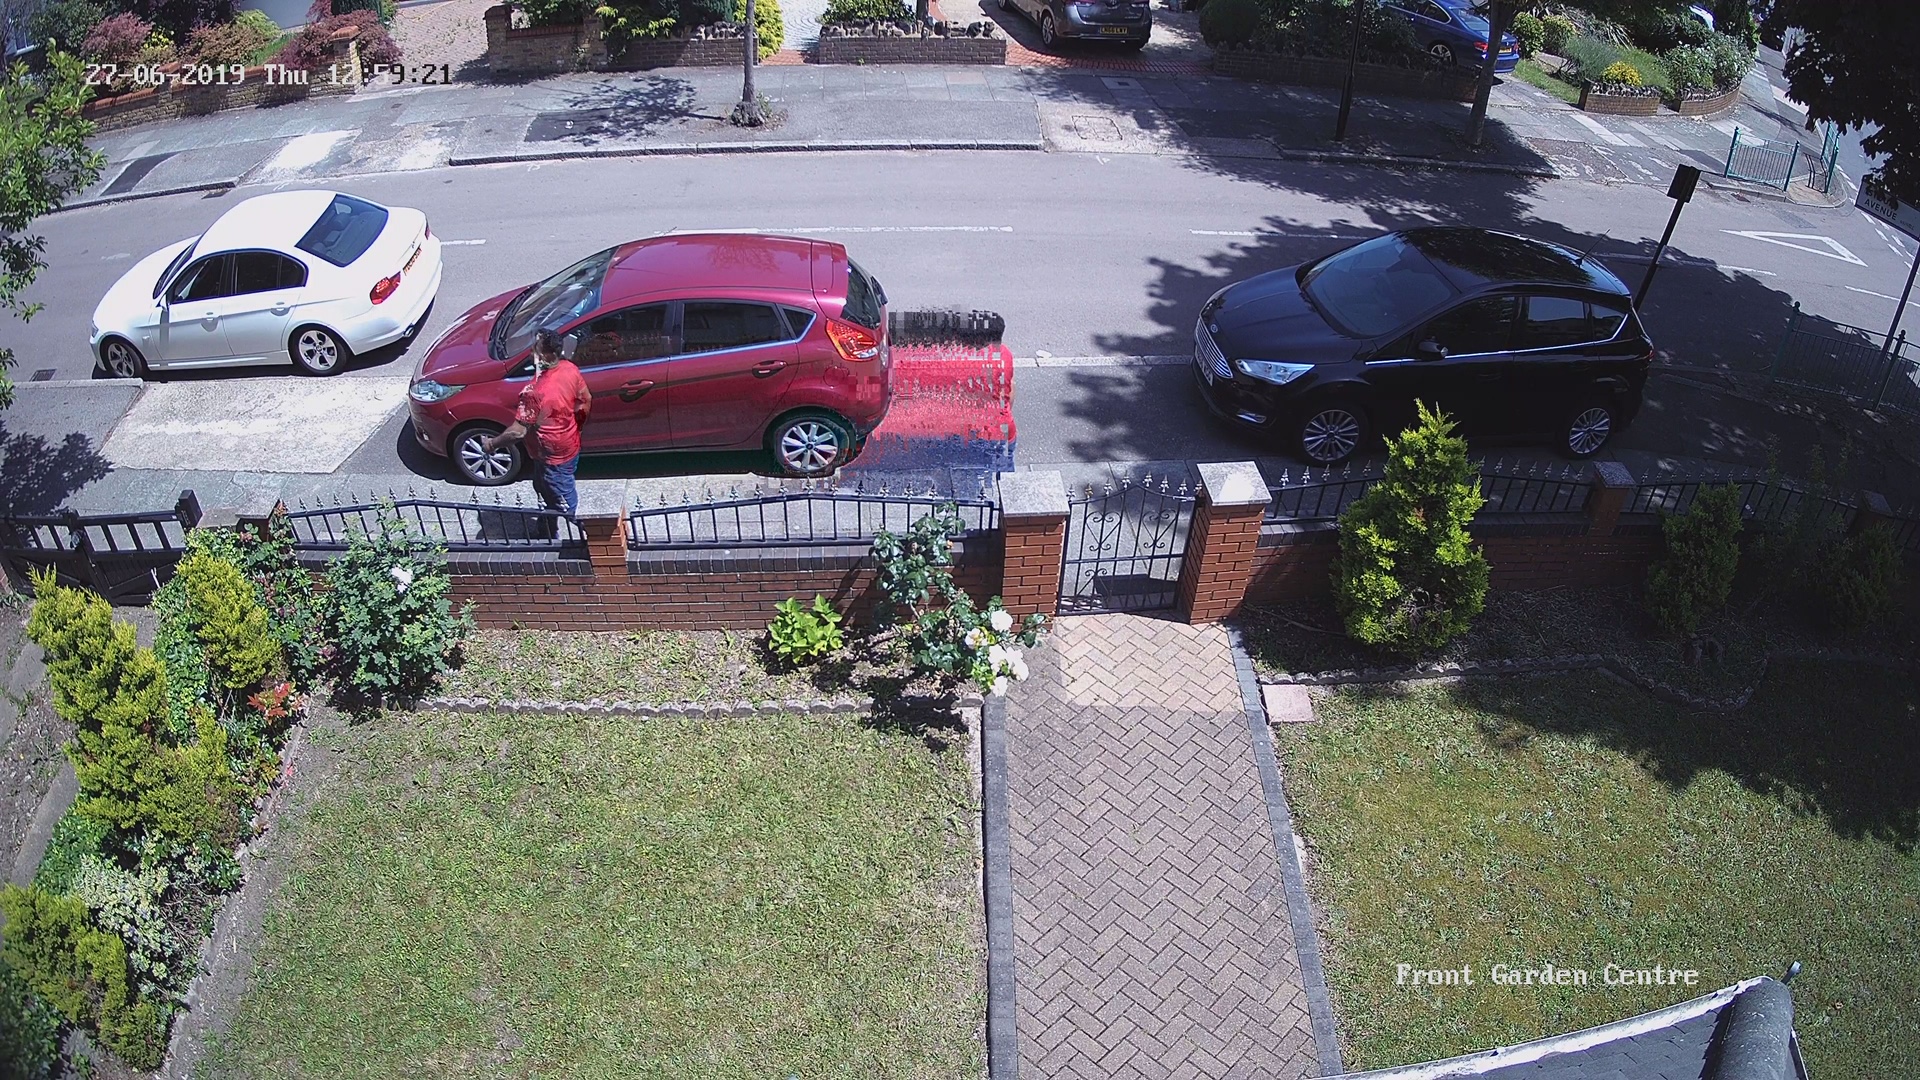
IR light from the camera would reflect off the dome and into the lens. This causes a less than the desired image for our customers.
Firstly, don’t choose the camera with the low-cost sensor. Even the low-cost sensor can perform pretty well during the day. The difference is the night vision capability. Pick a camera with at least a 1/3 inch sensor. The bigger the size is, the better the night vision will be. Like human eyes, one person can see clearly if he or she has better vision capability.
Disable the slow shutter. This can tell how well your camera performs at night. Once the slow shutter setting has been disabled, the image will become darker at higher frames per second (fps).
Add extra illuminators. It could be an Infrared or visible lamp. The infrared can project further distance than visible light, however, you have to scarify the image’s color details, because the infrared always affects the color reproduction of the camera, making the image look purple. Most of the cameras will eliminate the color when it sees Infrared. The PIR lamp is another option especially when you have some existed street lights. It can pop up unexpectedly and generates deterrence when criminals approach.
Network camera latency issues
In the video world, latency is the amount of time between the instant a frame is captured and the instant that frame is displayed. Low latency is a design goal for any system where there is real-time interaction with the video content, such as video live view or casting.
But the meaning of “low latency” can vary, and the methods for achieving low latency aren’t always obvious. Latency (a measure of the time delay experienced by a system) depends on several factors, both on the network environment and used applications. Basically, the system takes a long time to process the data and it could be caused by a system overload, network congestion, or weak/old components on the decoding client.
Characterizing Video System Latency
There are several stages of processing required to make the pixels captured by a camera visible on a video display. The delays contributed by each of these processing steps—as well as the time required for transmitting the compressed video stream—together produce the total delay, which is sometimes called end-to-end latency.
Measuring Video Latency
Latency is colloquially expressed in time units, e.g., seconds or milliseconds (ms). The biggest contributors to video latency are the processing stages that require temporal storage of data, i.e., short-term buffering in some form of memory. Because of this, video system engineers tend to measure latency in terms of the buffered video data, for example, a latency of two frames or eight horizontal lines.
Converting from frames to time depends on the video’s frame rate. For example, a delay of one frame in 30 frames-per-second (fps) video corresponds to 1/30th of a second (33.3ms) of latency.
Figure 1: Representing latency in a 1080p / 30 FPS video stream.
Converting from video lines to time requires both the frame rate and the frame size or resolution. A 720p HD video frame has 720 horizontal lines, so a latency of one line at 30fps is 1/(30*720) = 0.046ms of latency. In 1080p @ 30fps, that same one-line latency takes a much briefer 0.030ms.
Defining “Low Latency”
There is no universal absolute value that defines low latency. Instead, what has considered acceptable low latency varies by application.
When humans interact with video in a live video conference or when playing a game, latency lower than 100ms is considered to be low, because most humans don’t perceive a delay that small. But in an application where a machine interacts with video—as is common in many automotive, industrial, and medical systems—then latency requirements can be much lower: 30ms, 10ms, or even under a millisecond, depending on the requirements of the system.
You will also see the term ultra-low latency applied to video processing functions and IP cores. This is a marketing description, not a technical definition, and yes, it just means “really, really low latency” for the given application.
Designing for Low Latency In A Video Streaming Application
Because it is commonplace in today’s connected, visual world, let’s examine latency in systems that stream video from a camera (or server) to a display over a network.
As with most system design goals, achieving suitably low latency for a streaming system requires tradeoffs, and success comes in achieving the optimum balance of hardware, processing speed, transmission speed, and video quality. As previously mentioned, any temporary storage of video data (uncompressed or compressed) increases latency, so reducing buffering is a good primary goal.
Video data buffering is imposed whenever processing must wait until some specific amount of data is available. The amount of data buffering required can vary from a few pixels, to several video lines, or even to a number of whole frames. With a target maximum acceptable latency in mind, we can easily calculate the amount of data buffering the system can tolerate, and hence to what level—pixel, line, or frame—one should focus on when budgeting and optimizing for latency.
For example, with our human viewer’s requirement of 100ms maximum latency for a streaming system using 1080p/ 30 FPS video, we can calculate the maximum allowable buffering through the processing pipeline as follows:
100ms/(33.3ms per frame) = 3 frames, or
1080 lines per frame x 3 frames =3240 lines, or
1920 pixels per line x 3240 lines = 6.2 million pixels
Therefore, if you have a low bandwidth network and you wish to set all your cameras to 1080P and 30 FPS you will need the following requirements times the number of cameras.
One camera set at 1080p/ 30 FPS consumes 4.2 Mbs of bandwidth as shown below.
In conclusion, when designing a system to meet low-latency goals, keep these points in mind:
- Achieving low latency will require some trade-off of decreased video quality or a higher transmission bit rate (or both).
- Identify your latency contributors throughout the system, and eliminate any unnecessary buffering. Focus on the granularity level (frame, level, pixel) that matters most in your system.
We hope this article was useful to you, please leave us a comment or feedback as it will help us improve our customer support center.




Add Comment