
TP-Link VIGI Cameras Ultimate Guide Part 5, The VIGI management system is mainly divided into “Standalone Management Mode” and “VMS Centralized Management Mode”. Standalone Mode connects directly to the devices for management. The VMS Centralized Management System consists of a server and an application. Devices are connected to the server in a unified manner, and users manage the VMS system through applications.
Why Can’t I Receive VIGI App Notifications After Turning On Notifications?
If push notifications from your VIGI camera on your phone don’t work correctly, please refer to the following steps for inspection:
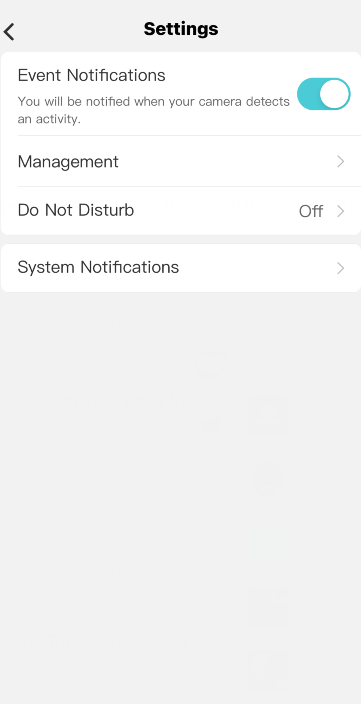
Step 1 Check your camera whether the Notifications is on your VIGI app.
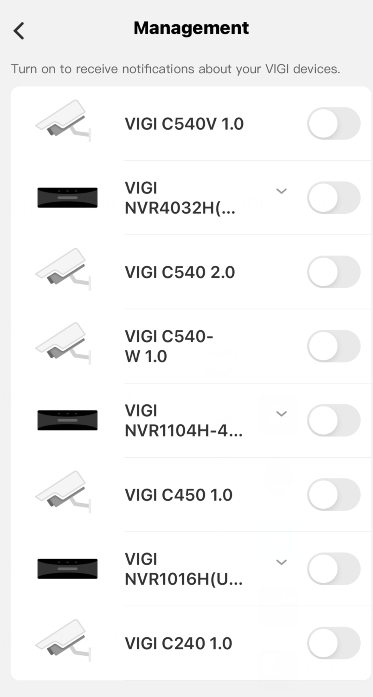
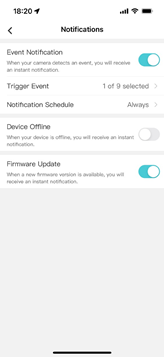
Go to Me > Settings > Message Notification Settings and check if you have turned on the notifications.
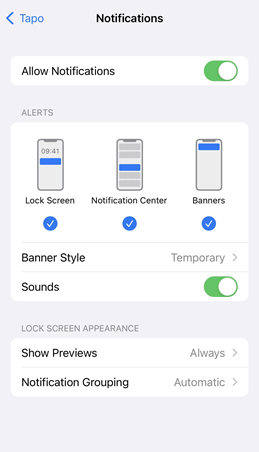
Step 2 Check and confirm Notifications setting on your phone is enabled.
For iOS: Launch Settings > Notifications, ensure Show Previews is on Always, and the Allow Notifications for the VIGI App is on.
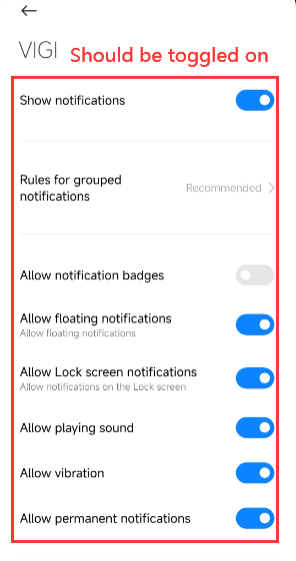
For Android: Launch Settings -> Notifications & Status bar > App notifications, locate the VIGI App and ensure the Show notifications option is on.
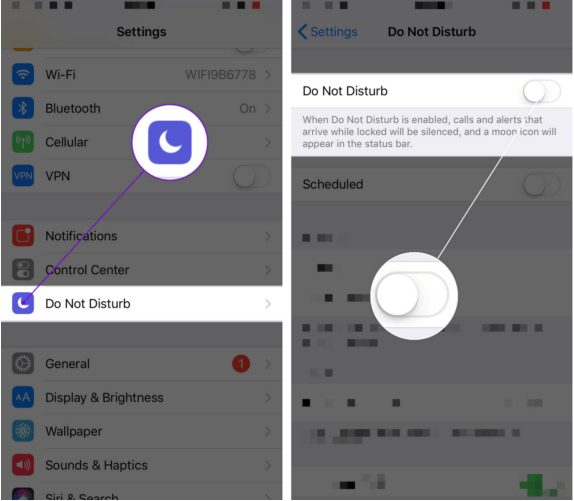
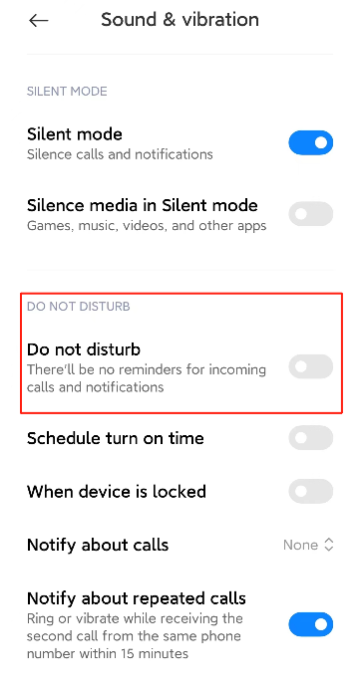
Step 2 Turn off Do Not Disturb
For iOS 14 or earlier: Go to Settings and tap Do Not Disturb, then tap on the toggle next to Do Not Disturb to turn it off.
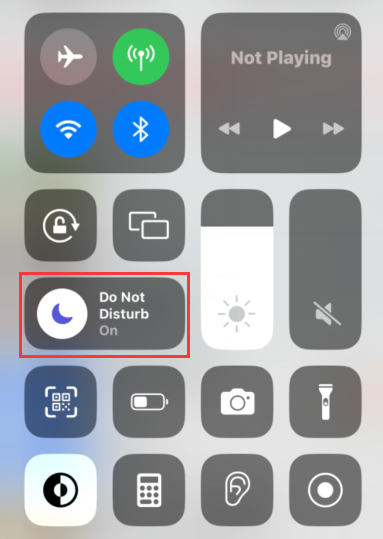
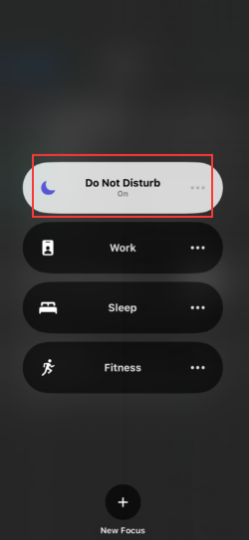
For iOS 15 or later: Open Control Center, tap Focus, then tap the Focus that is on to turn it off.
For Android: Launch Settings > Sound & vibration > Do not disturb, locate the Do not disturb option is Off.
Step 3 Check and ensure the Wi-Fi and cellular connection on the phone is working properly.
Please contact TP-Link technical support with the following information if you still encounter push notification issues after the above suggestions.
1) Your TP-Link ID or cloud account;
2) The brand & model of your phone and its Android/iOS version;
3) Whether you have tried all the suggestions listed above or not. If yes, what are they?
TP-Link VIGI Cameras Ultimate Guide Part 5
How to Create an Account in VIGI App
If you have a TP-Link account:
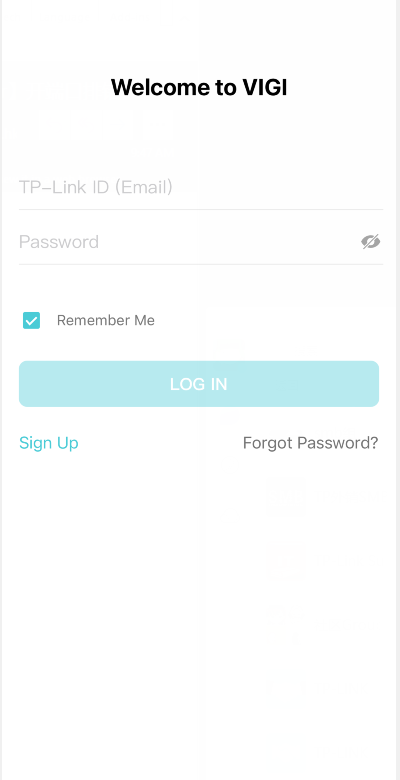
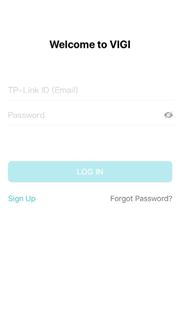
Open the VIGI app and enter your account information to log in.

If you don’t have a TP-Link account:
1. Open the VIGI app and tap Sign Up.
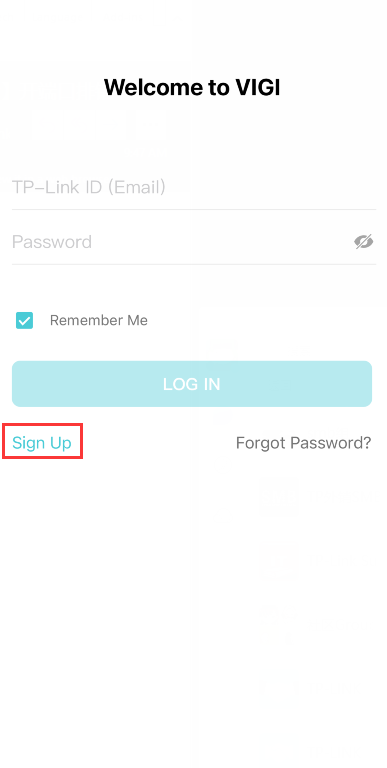
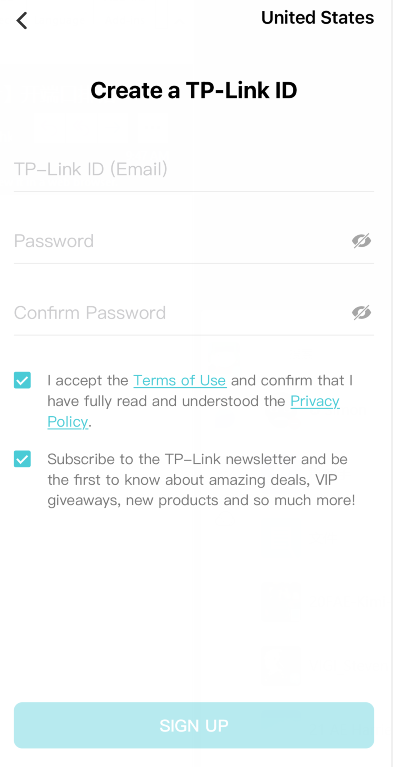
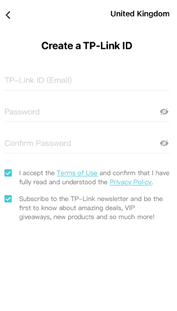
2. Enter a valid email address and create your own password. Then a verification email will be sent to your inbox and you need to finish the verification within an hour.
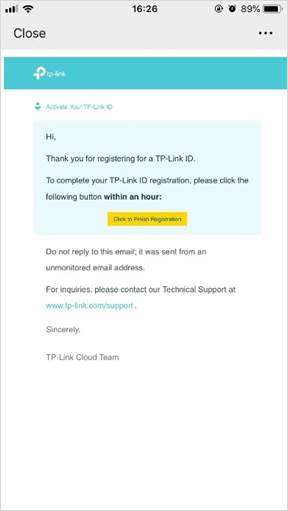
3. Open your mailbox and find the verification email. Click the Click to Finish Registration button in the email to activate the TP-Link account.
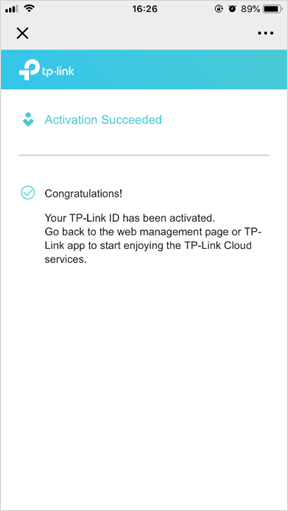
4. Once the account is activated, open the VIGI app and enter the account information just registered to log in.
How to Unbind the Account (TP-Link ID) with VIGI Devices in VIGI App
You can unbind the TP-Link account with devices by removing them via the VIGI app. After unbinding, you can re-register the VIGI devices to another account (TP-Link ID).
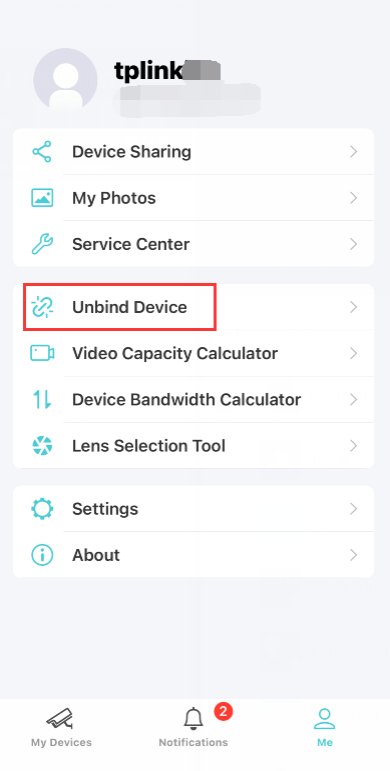
Method 1: Go to the Me page
On the Me page, you can tap on Unbind Device to unbind your VIGI devices from your TP-LINK ID.
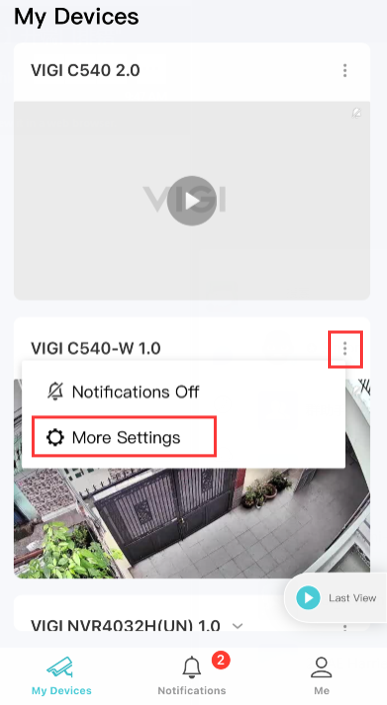
Method 2: Go to the Device Settings page
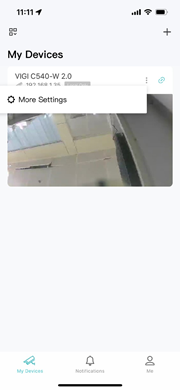
1. On the My Devices page, tap on your three-dot icon on the model. Then tap on More Settings. Here we take VIGI C540W as an example.
2. Tap Remove Device at the bottom and confirm the removal. The device will be removed from your TP-Link account.

How to Update the Firmware of VIGI Devices in the VIGI App
The firmware on TP-Link VIGI cameras can be updated by using the TP-Link VIGI App. Please make sure you’ve downloaded this app before continuing.
Before you begin:
Please log into your TP-LINK ID and make sure you can control your VIGI devices.
How to create an account in VIGI app
Update the firmware for all VIGI devices
Here we take VIGI C540W as an example.
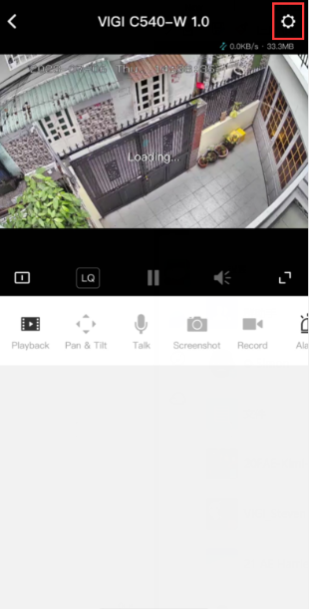
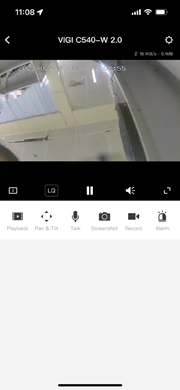
Step 1. Tap on your camera and go to the Live View page. Then, tap on More Settings.
Step 2. Tap on Firmware Update on the Device Settings page.
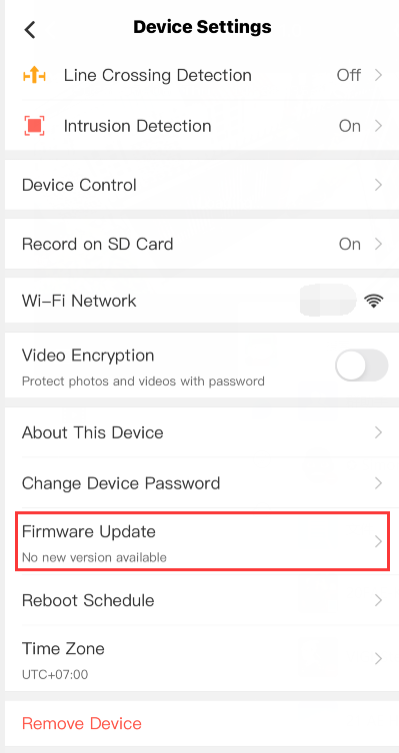
Step 3. On the Firmware Update page, VIGI app will automatically check the update for you. You can also tap on Check for Update to manually check the update of your camera.

How to Share Your VIGI Devices with Your Families and Employees
With the Device Sharing feature, you can invite your families to manage the VIGI devices together.
Note:
1. Make sure the firmware of VIGI device and VIGI App are both up to date.
2. Some devices do not support the sharing feature for the time being. And the APP will prompt that the sharing feature is not supported.
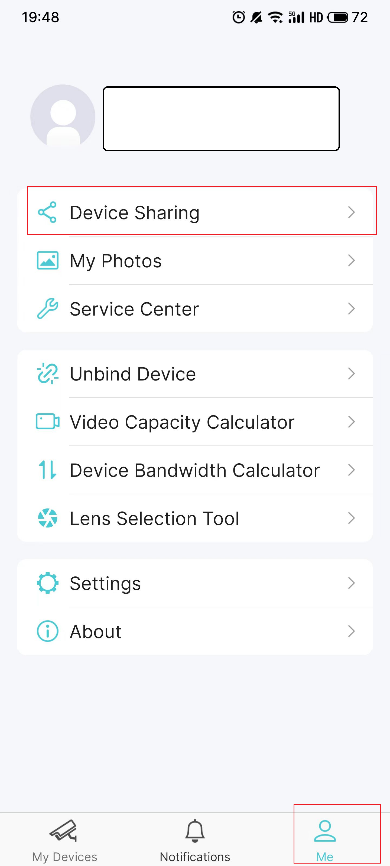
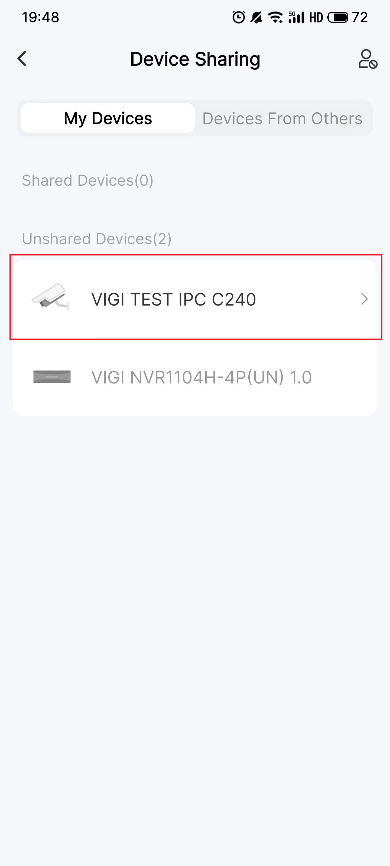
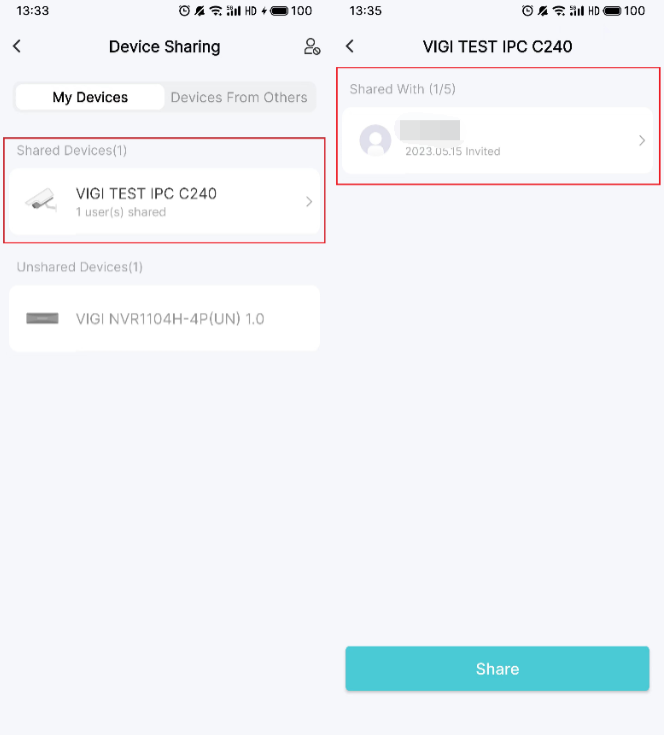
Step 1. On the Me page, tap Device Sharing and select the device you want to share.
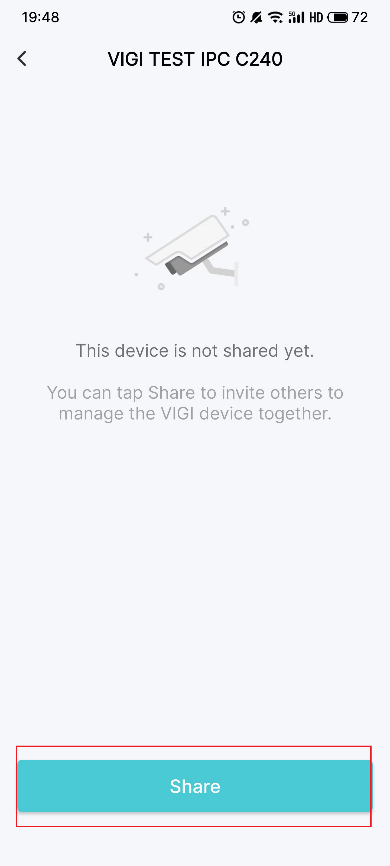
Step 2. Tap Share. Enter the invitee’s TP-Link ID, then tap Next.
If the invitee is new to TP-Link, please refer to the link to register your TP-Link ID: What is TP-Link ID and how to create a TP-Link ID?

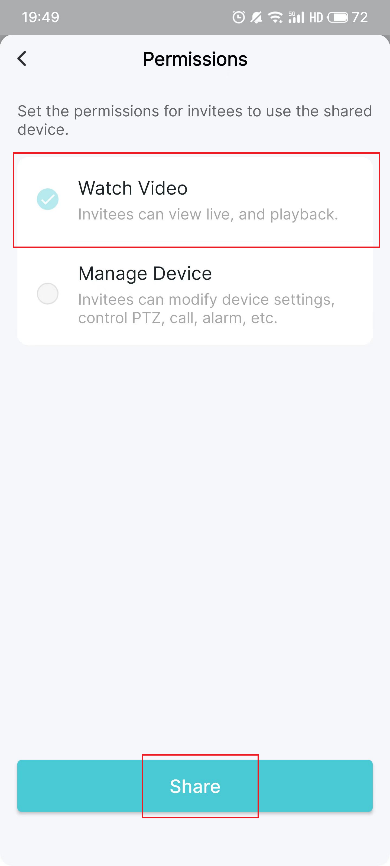
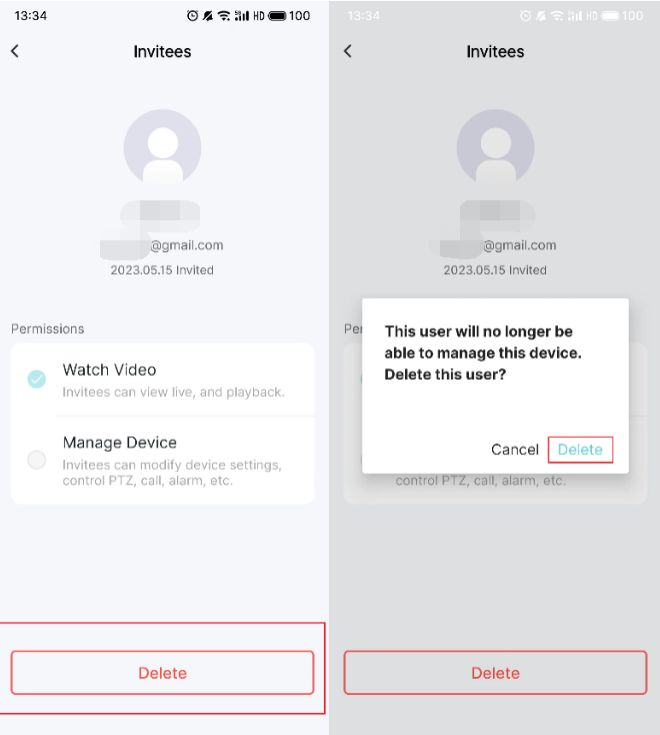
Step 3. Set the Permissions for the invitees. Note that there are two different permissions for your invitees. Watch Video will restrict their privilege to only watch live and playback. If you want to give permission to your invitee for control your VIGI devices, please assign Manage Device.
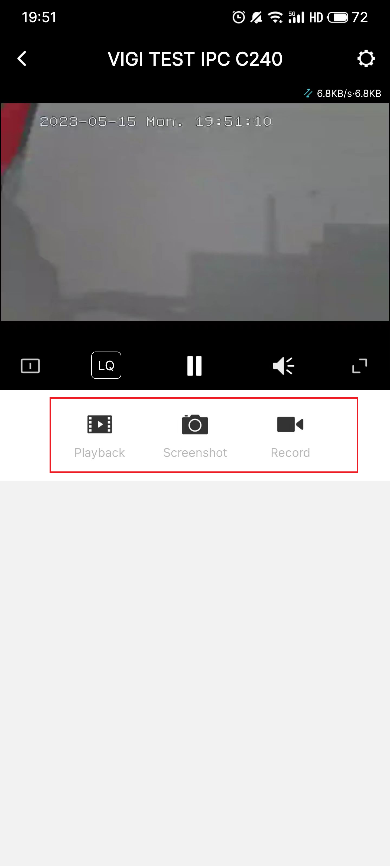
After selecting the permission for your invitee, click Share and Got It. Now the invitee can view the camera now.
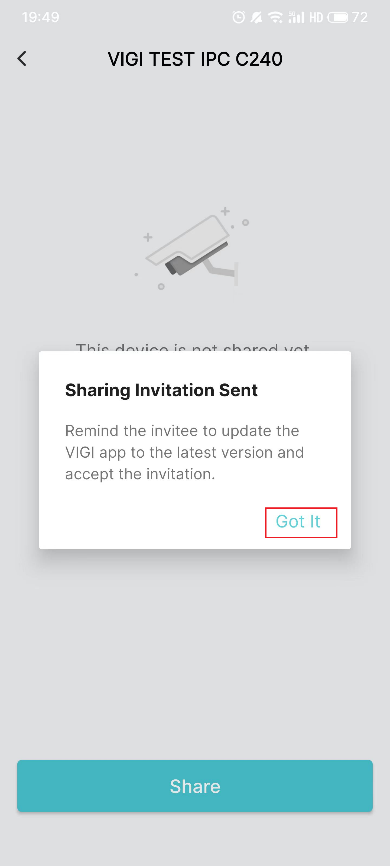
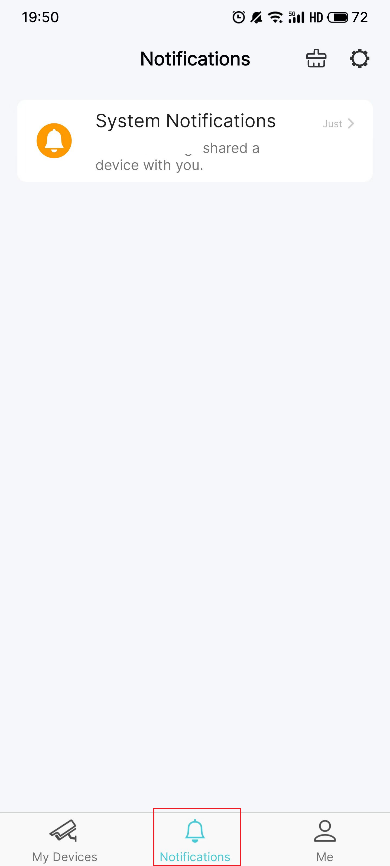
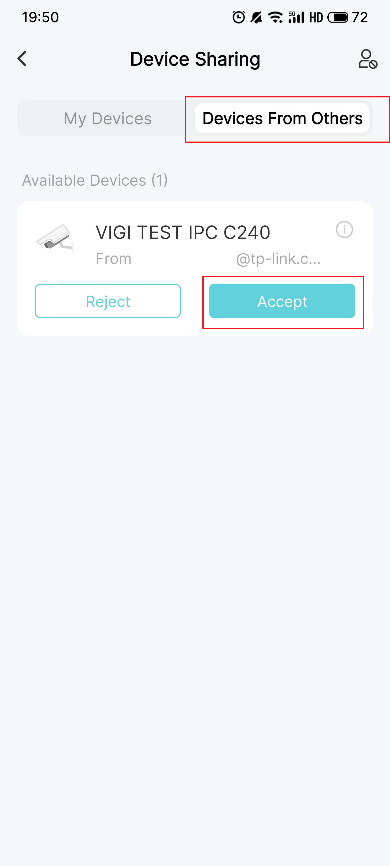
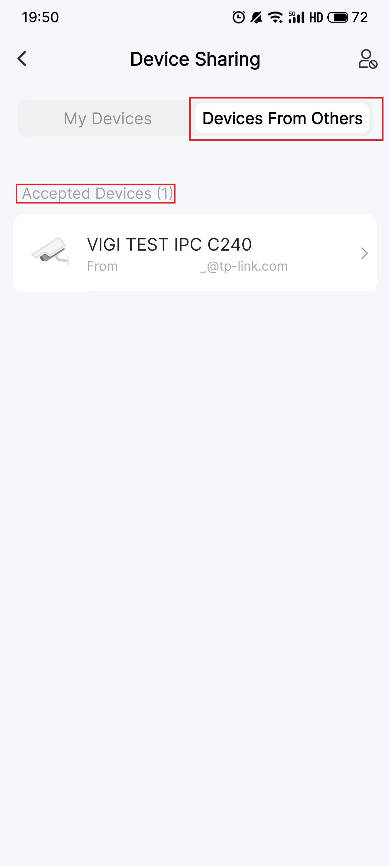
Step 5. Let the invitee log in to the VIGI app, check the invitation under Notifications and tap Accept. After that, the invitee can watch/manage this shared VIGI device.
How to stop the device sharing
If you want to stop this Device Sharing, go to Me > Device Sharing > Shared Devices. Tap on the device that you want to stop sharing. Tap Delete and confirm your deletion.
How to get started with the TP-Link VIGI app
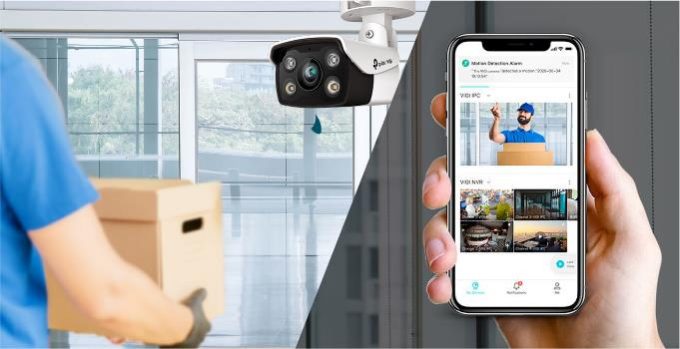
What is the TP-Link VIGI app?
The TP-Link VIGI app is designed for VIGI network cameras and NVRs that are dedicated to protecting your business. It allows you to easily add, configure, monitor, and control your connected devices. Simply create an account and add network cameras to it to enjoy real-time video, anytime, anywhere. Moreover, it also allows you to play back videos whenever you need. With the VIGI app, you can get instant notifications when motion is detected and know what happened.
In sum, you can use the VIGI app to
Note: Features available in VIGI devices may vary by model and software version.
Get started with the TP-Link VIGI app

Easily manage devices with the TP-Link VIGI app
After adding cameras to the VIGI app, on the Live View page, you can keep an eye on what’s important to you real time from anywhere with the VIGI app.
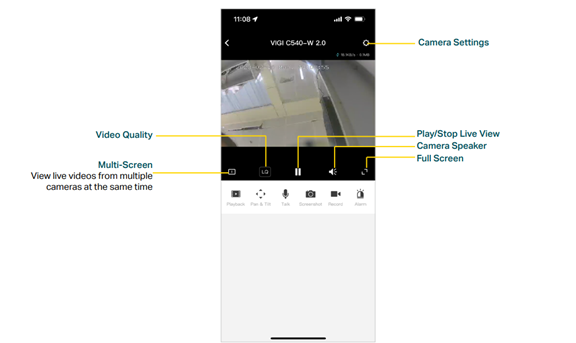
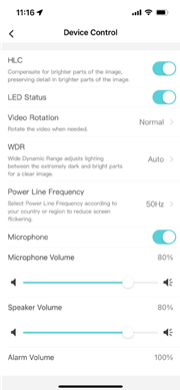
You can adjust the live view display on the Device Control page. You can tap More Settings on the My Devices page or tap the gear icon on the Live View page to enter the Device Settings page. On the Device Control page, you can change the camera settings of your camera to meet various needs.

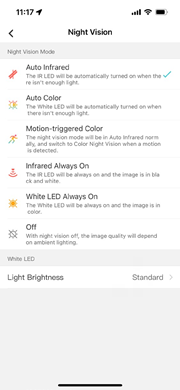
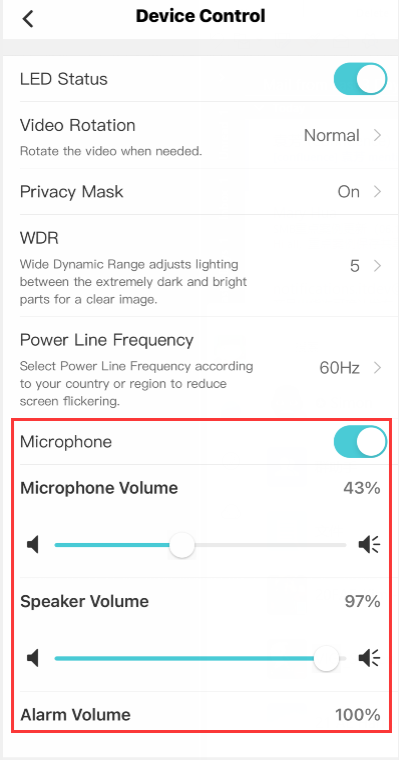
Follow the app instructions to configure the settings. You can enable HLC, set LED status, change the video direction, configure WDR, disable the microphone or adjust the microphone volume (for certain cameras), adjust the speaker/alarm volume (for certain cameras), set the night vision and light brightness (for certain cameras).

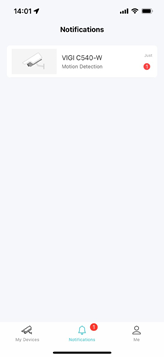
Get instant notifications
On the VIGI app, enable motion detection, set custom activity areas, set boundaries, and more. Then, you can get instant notifications when the camera detects motion and receive alerts when someone crosses boundaries, enters an area, or blocks the camera. You can get instant alerts on your phone faster than email alerts.

Conclusion
The VIGI app is designed to be compatible with all VIGI devices. It lets you fully control your VIGI cameras and VIGI NVRs, all from one app. With simple device onboarding and cloud service, you can manage your security from the palm of your hand at any time, without relying on an additional monitor or computer. The TP-Link VIGI app provides real-time visibility into your business security from anywhere.
.
How to avoid IP address conflicts in a surveillance system
An IP address conflict occurs when two or more devices on the same network are assigned the same IP address. In the surveillance system, IP address conflicts may cause many problems such as the failure of camera addition, frequent dropouts of the camera, unstable live view, and so on. Therefore, we should make sure there is no IP address conflicts in the network to ensure a stable surveillance system. This article tells you how to avoid IP address conflicts.
Common IP conflicts in a surveillance system
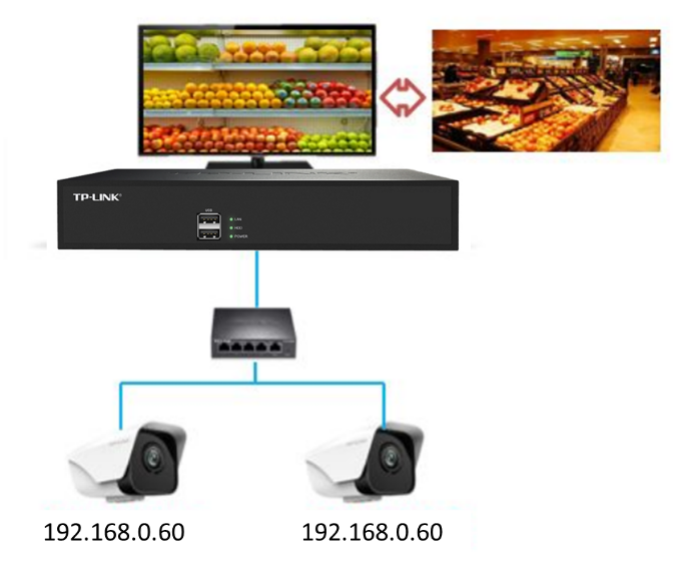
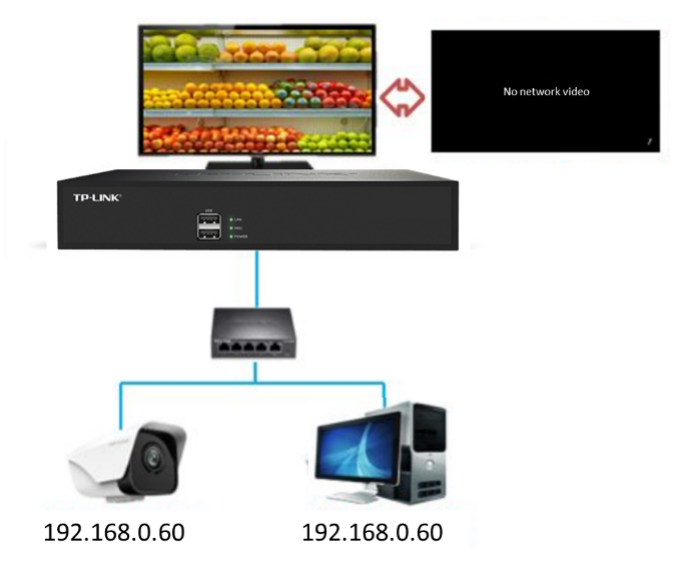
In a surveillance system, if two IP cameras have the same IP address, the live streaming source of one channel will switch between the two cameras.
In this situation, the monitoring screen sometimes will show ‘no network video’.
How to avoid IP address conflicts?
If you find a similar phenomenon above, you need to check whether there is IP address conflict.
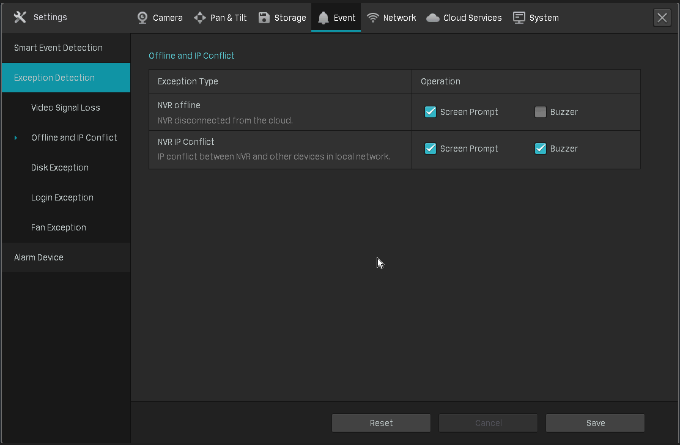
VIGI NVR can detect the IP conflict between NVR and other devices in local network. When it is detected, you will get a prompt. You need to go to Settings > Network > Connection to change the IP address. Or you can find the device that has an IP conflict with NVR and change its IP.
When you first add VIGI cameras via VIGI NVR, VIGI security manager or VIGI App, they will automatically set unused static IP addresses for them. But if IP address conflicts occur after VIGI cameras are added, you need to change the IP address of devices with IP address conflicts.
You can refer to the link to change the IP address of VIGI cameras.
How to Avoid Noise When Monitoring the Sound from VIGI Camera
VIGI cameras are capable of not only monitoring video stream from the camera, but also monitoring sound collected by the built-in microphone on the cameras. You can turn on/off the sound feature like the monitor screen as below. But to increase or decrease the volume, you need to press the volume button on your phone.
Why is there noise?
Noise is a physical phenomenon and it’s inevitable. Basically, the IP cameras including other brands’ have background noise. And those cameras which seem to generate less noise probably have worse sound collecting performance. VIGI cameras are designed with a sensible sound collector which might take some noise in your monitor. Even though it is inevitable at present, we are still trying our best to make improvement and searching for better solutions.
How to reduce the noise
1. Please keep your mobile device away from the camera as much as possible. The VIGI camera is designed for remote access and monitoring via cloud service, local usage in close range may cause interference and noise between your mobile device and the camera.
2. Please reduce the output volume below 50% since a louder volume may enlarge noise decibel. The value between 40%-50% is suggested with not only good sound quality but also minimum noise decibel. As long keep focus on our cloud camera you will find our progress on new models.
.
Add Comment