PTZ Cameras Setup Guide (for use with TetherX)
How to setup PTZ cameras to work with TetherX
1. Once your camera is online TetherX should automatically detect it on your network and prompt you to enter the password. Once you have done this please follow the following steps to set up the live view and recording.
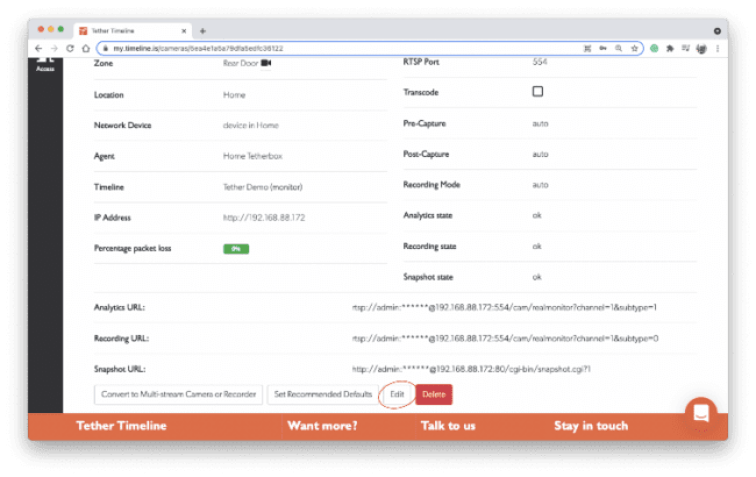
2. To enable PTZ functions through TetherX please find the camera you have added into TetherX – https://my.timeline.is/cameras
3. Click the “Update Camera” button to save the changes:
4. Go to your live view page and find the camera on your timeline:
5. View your camera as a single window and the PTZ functions will show up in the top left-hand corner. Use the controller to move the camera.
Controlling PTZ on mobile devices
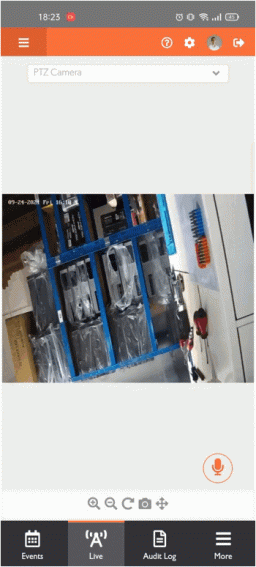
1. Go to the Live view tab and select your PTZ camera.
2. Open full-screen mode for this camera.
3. Double tap on the screen to enable PTZ controls.
How to receive Hikvision Analytics into TetherX
How to configure a Hikvision camera for basic and smart events / analytics
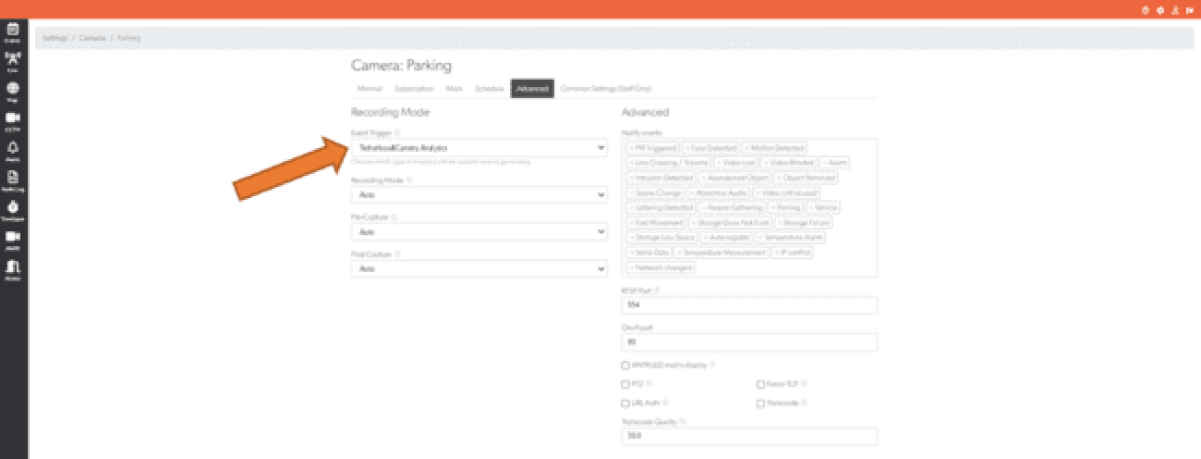
1. Find your Camera, and ensure you have “Camera Analytics” enabled. You can find this by editing the camera and switching to the “Advanced” tab:
2. Tunnel into your Camera / Device:
How do I tunnel into a device?
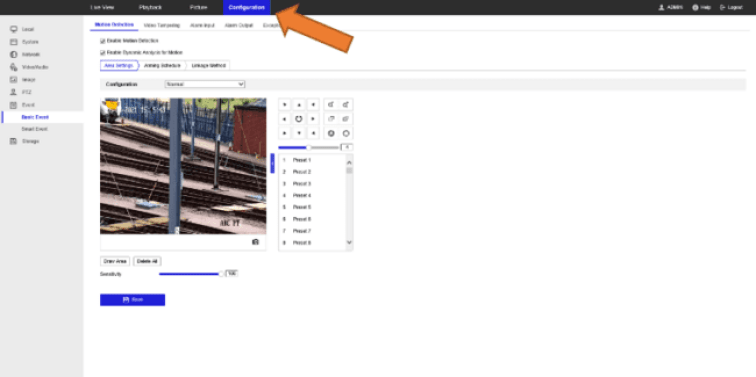
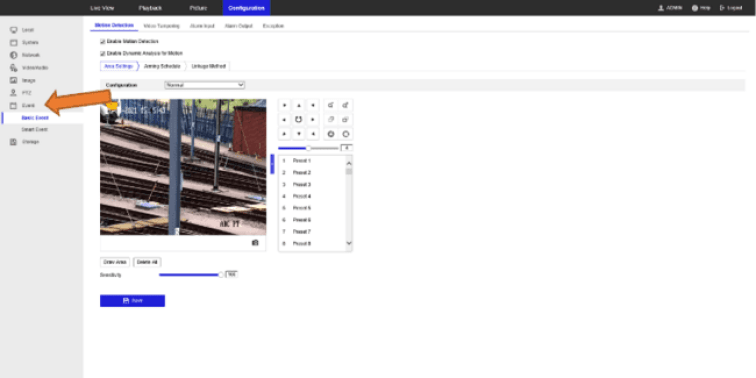
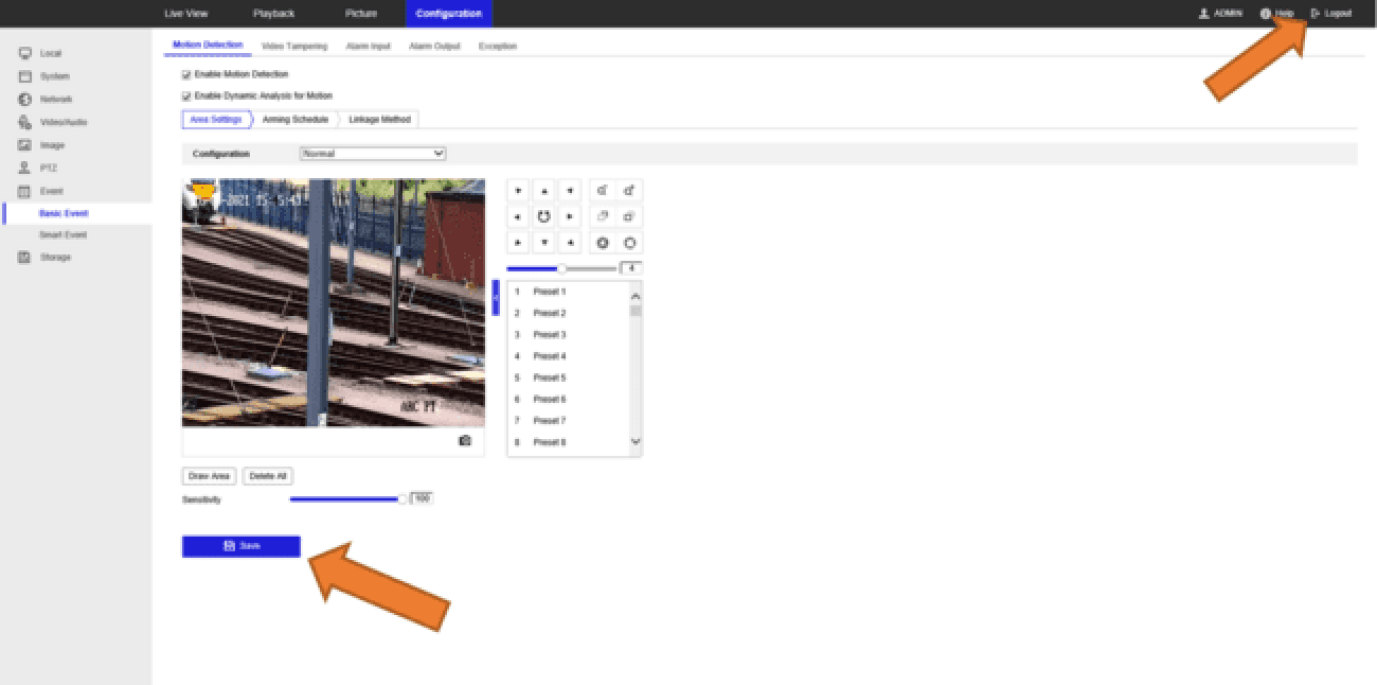
3. Log into the camera using the admin account and press on “Configuration”
4. Press on “Events” & select “Basic Event” settings
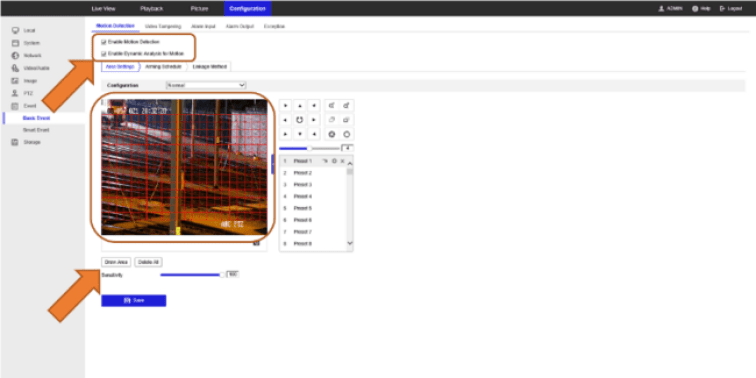
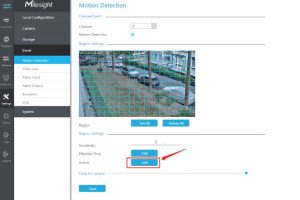
5. Select “Motion Detection” and then:
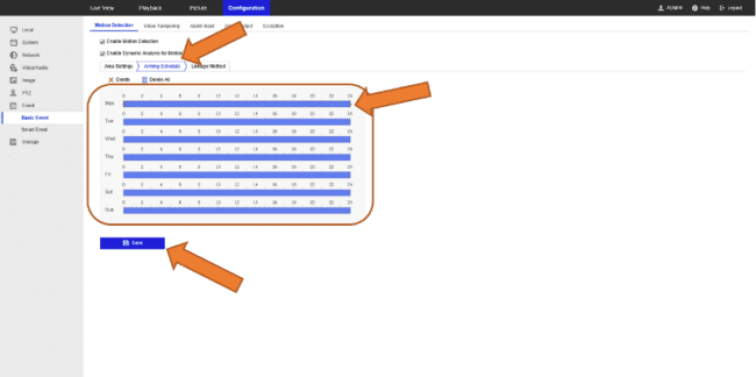
6. Select “Arming Scheduled” and then select use the blue sliders to adjust the time and days you would like the analytics to be enabled.
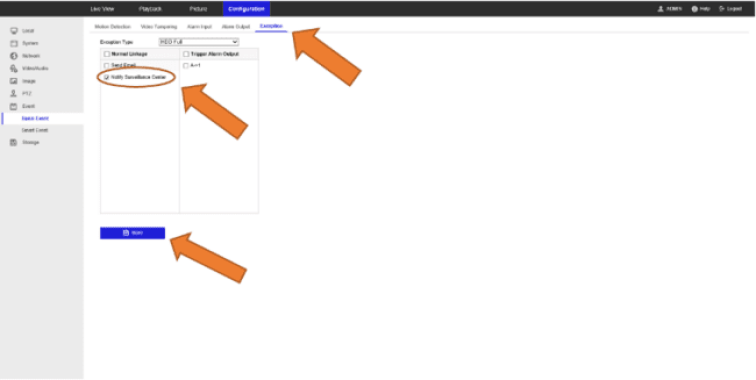
7. Select “Exception” and then select.
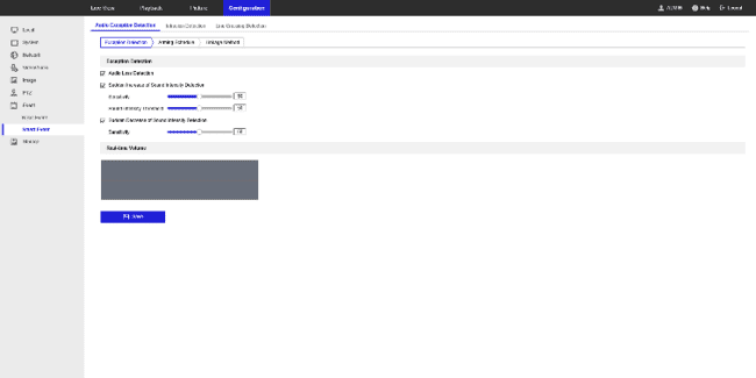
8. Select “Smart Event” and then use the the categories to enable or disable the cameras Smart event detection.
Eg. “Sudden Increase of sound Intensity Detection” can be used if the camera is in a quite area and a loud noise can trigger an event.
9. Finally logout of the camera and return to the TetherX events page.
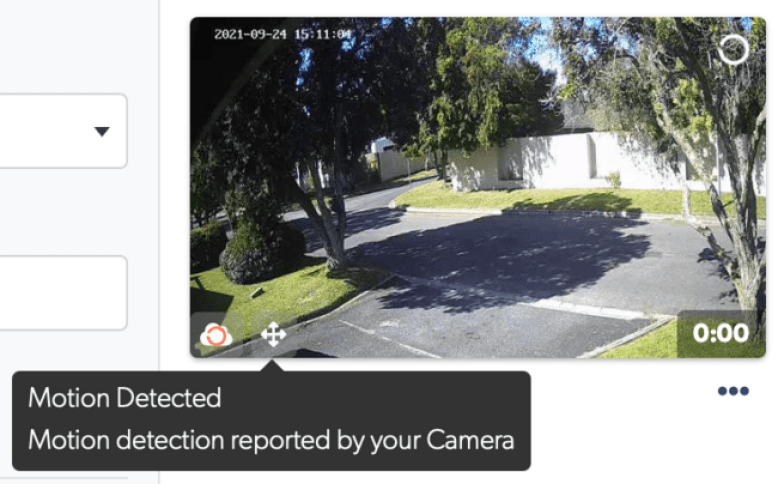
You should start to see the events in TetherX with icons representing the analytics that were detected:






Add Comment