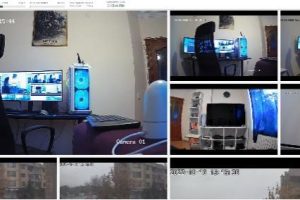
To use digital Zoom in Live Preview mode, click one live view channel, and the toolbar will pop up.
![]()
![]()
![]()
![]() Select Digital Zoom to enter digital zoom mode
Select Digital Zoom to enter digital zoom mode
This button enlarges the picture 2x every time it is clicked. The maximum is 6x.
This button shrinks the enlarged picture back to normal size.
This button enlarges the selected area to fill the screen.
This button returns the picture to normal size.
![]() This button exits zoom mode.
This button exits zoom mode.
The controls on the PTZ panel are shown below

The IP Channel menu enables the user to view specific information about cameras that are currently connected to your NVR such as channel number, IP address, and status. Below is a screenshot of the IP Channel Menu:

![]()
Menu
3 Auto-adding
Below is an explanation of the fields on this menu:
|
|
Name |
1 IP Address |
|
SMik |
||
|---|---|---|---|---|---|---|
|
|
>2MP_P0£ jj 1 |
T 192 168 2 |
145:9000 |
|
• |
Ilwalid PWD |
|
|
|
f 192168 2 |
15 29000 |
8 |
• |
Pwewmg |
|
7 |
। Gamer a • |
192 168 2 |
188-9000 1 |
|
• |
Piev.pwmq |
|
4 |
[Camera] |
1 192 168 2 |
IQ/ 9000 |
|
|
| Invalid PWD |
|
|
|
|
• |
|
. * |
|
has detected in the local area network. This option is disabled by default, so cameras must initially be manually added to the NVR.
this list when the scan button is clicked.
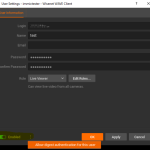
o To add an IP camera to the NVR, please select an available channel to assign a camera to from the channel drop-down list, and then input the user name and password. Also IP camera can be manually added by inputting the IP address/port or RTSP URL, user name, and password into the list. When finished, click the Apply button to save the new configuration.
![]()
o To delete an IP camera from the NVR, please select that IP camera and select None from the channel drop-down list. When finished, click the Apply button to save the new configuration.






Add Comment