
5. Email Configuration: This page allows for configuration of email alert settings.
6. UID: This page displays the device UID.


System Time Configuration: This page allows for configuration of date and time settings on the NVR.
DST Configuration: This page allows for configuration of settings that handle Daylight Savings Time on the
NVR.
settings.
Below are short descriptions for each of the menu items on the main menu:
IP Channel: Manage the IP addresses of the device
Display -> Camera: Review or edit display settings for each camera
Display -> Output: Review or edit display resolution settings
Recording -> Encode: Review or edit recording settings specific to each camera
Recording -> Option: Review or edit recording settings
Recording -> Schedule: Review or edit settings that trigger recording events
Search -> Playback: Playback recorded video
Search -> Backup: Backup recorded video
Search -> Event: Playback events
Search -> Log Search: Search the log for alarms, exceptions, or operation events
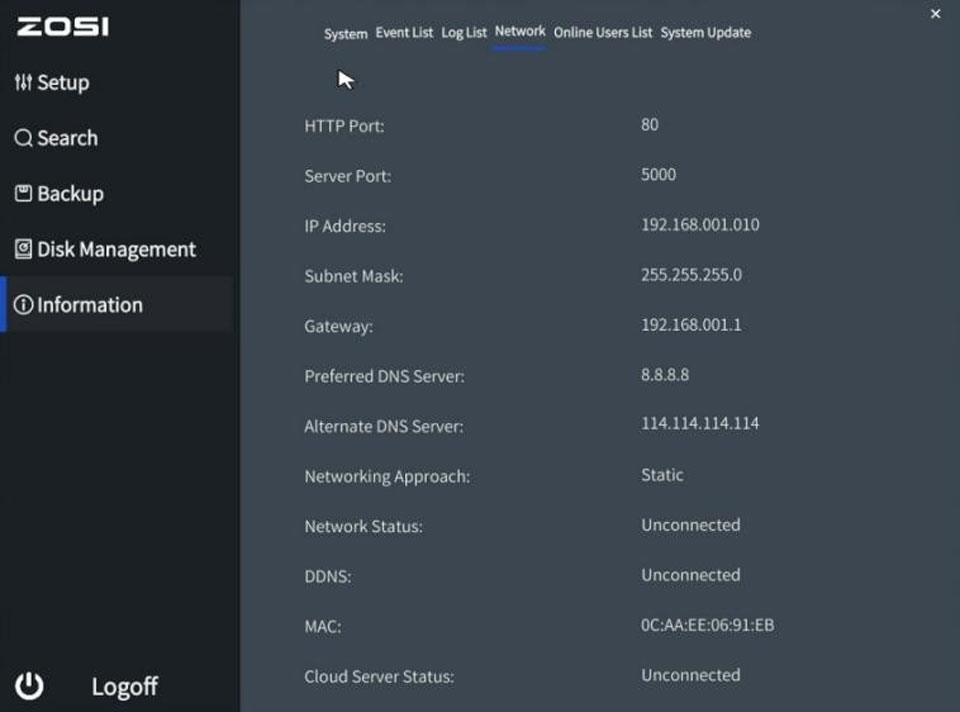
Network -> General: Review or edit network settings for the NVR
Network -> Advanced: Review or edit advanced network settings for the NVR
Network -> Network Status: Monitor network status for the NVR
Alarm -> Motion: Set alarms based on motion events
Alarm -> Video Loss: Set alarms based on video loss events
Alarm -> Exception: Set alarms based on exception events
Device -> HDD: View HDD status or clear HDD
Device -> S.M.A.R.T.: View device statistics based on each HDD
Device -> PTZ: Configure PTZ information for each PTZ enabled camera
System -> General: View or edit general NVR information
System -> User: Add, delete, or modify users for the NVR
System -> System Information: View general information about the NVR
System -> Maintenance: View or edit maintenance settings for the NVR
Shutdown -> Lock: Lock the NVR to prevent unauthorized access
Shutdown -> Shutdown: Shutdown the NVR
Shutdown -> Reboot: Reboot the NVR
This section of the guide provides instructions on how to setup
For purposes of this guide, we will outline the most common method for setting up local web access. For this method, your NVR should be connected to your router, and the computer you are using to access the NVR’s web interface should be connected to the same router, either wirelessly or via a wired connection.
For detailed operation information about web access, please refer to the User Manual included in the packaged CD, or the paper copy of the User Manual included with the system.
For the purposes of this guide, we will outline the UPnP (Universal Plug and Play) method for setting up remote web access. For this method, your NVR should still be connected to your router and your computer should also be on the same network as your router – but only for the initial setup. Afterwards to enable remote access, the computer should be connected to a network that other than the one connected to the NVR.
Note: Remote access does not work when connected to the same network as the NVR, whether it be wirelessly or through a wired connection. Local setup will have to be configured separately to enable local access. Please see the steps on the previous page for information on how to do this.
For detailed operation information about web access, please refer to the User Manual included in the packaged CD, or the paper copy of the User Manual included with the system.


Add Comment