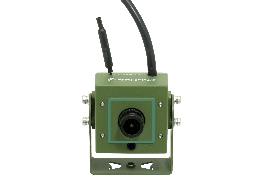
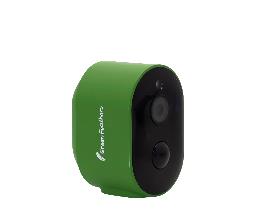
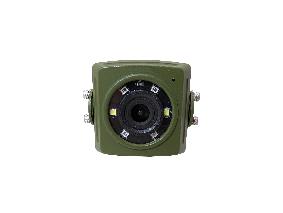
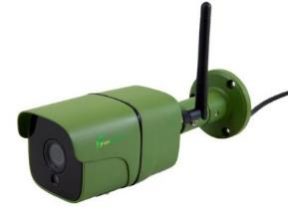
Green Feathers 3rd Gen Camera Setup Guide, Green Feathers WiFi Bird Box Camera and Large Bird House – View amazing quality footage of nesting birds, eggs and chicks from anywhere right on your mobile device using our state of the art IOS and Android app For information on how to set-up your camera please click on the image for the camera you have.
WiFi Camera 3rd Gen setup via Green Feathers app
This guide shows you how to set up your WiFi Bird Box Camera, Solar Powered WiFi Camera, or Garden Wildlife Camera on WiFi
Before you begin
Test the WiFi signal strength by taking your smartphone/tablet to the site where you plan to install your camera; if it has a weak signal at the installation site then the camera may struggle to maintain a connection (see section 9 Hints & Tips at the bottom of the guide for help with WiFi signal strength)
Insert a micro SD card if you have one; hold the camera with the lens facing up, then insert the micro SD card with the metal contacts facing up. Push it in fully until you feel it click into place. If you have trouble inserting the SD card to the point where it clicks into place, hold it down with your thumb then use a thin object like a pen to push it down fully
Before you mount the camera in the bird box, make sure it’s connected to your WiFi router and can be viewed on the app. It’s best to set the camera up when it’s plugged in a different room to your router, then once it’s connected you can unplug it and install it in the final location
Ensure the device being used to set up the camera is connected to the same WiFi network that you want the camera to be connected to (this is only required for the setup process)
Make sure you know the name and password of the WiFi network which the camera will be connected to
Make sure that you are connecting the camera to a 2.4GHz WiFi signal; if you don’t know what this is you can read more here
Plug in the power supply into the trailing cable of the camera; after the camera has powered on you will hear a three note chime, and the camera will start saying “Wait for WiFi config”
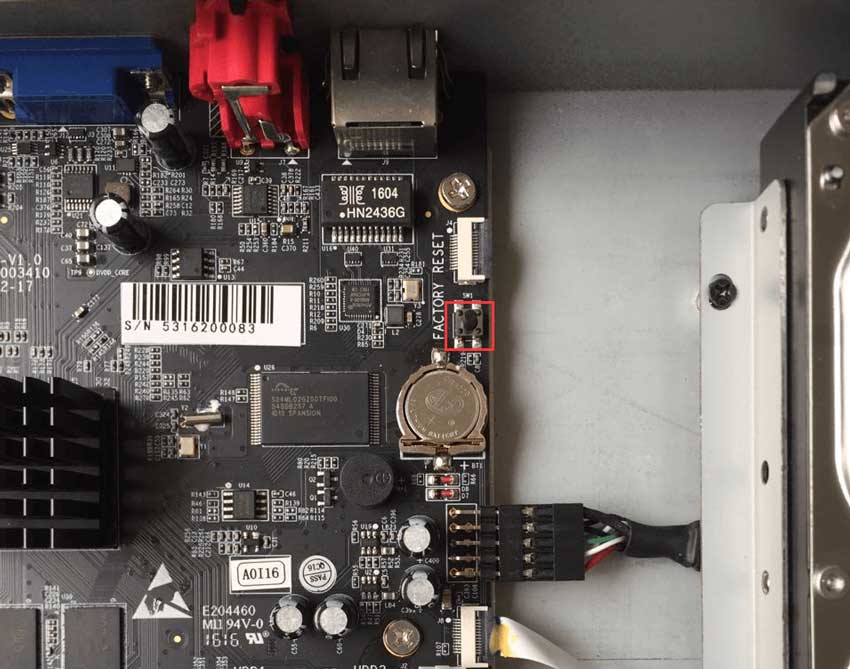
Remove the lens cap on the camera, if it has one, and remove the cap on the reset button
Download the Green Feathers app for Android from the Google Play store by clicking here.
Download the Green Feathers app for iOS from the App store by clicking here.
Let’s get started
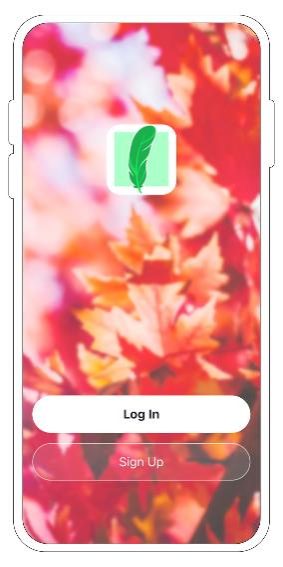
To get started, open the app:
1. Registering an account
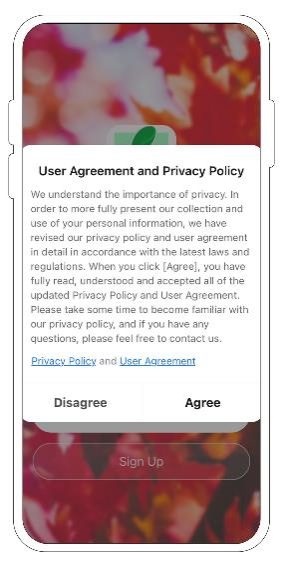
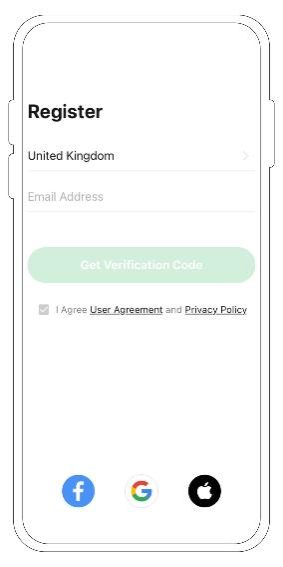
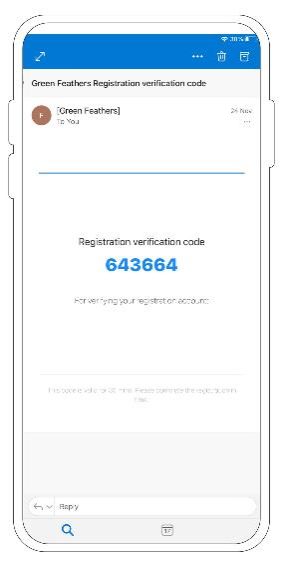
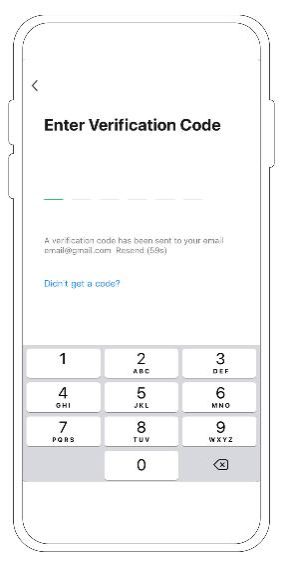
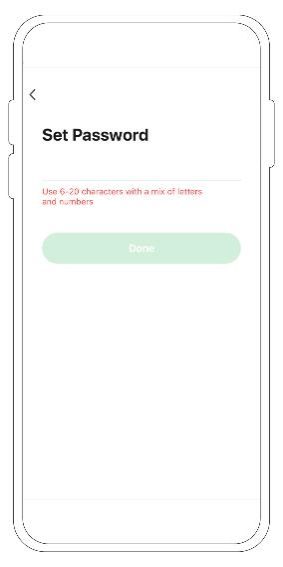
Tap ‘Sign Up’ to create an account, then select ‘Agree’ for the ‘User Agreement and Privacy Policy’. If you have already signed up then skip below to the section called ‘Adding the camera to the app’.
Once your account is all setup, just log in to the app!
2. Adding the camera to the app
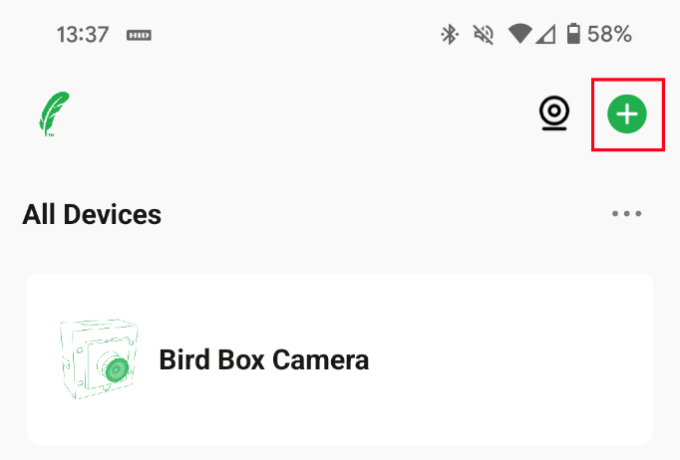
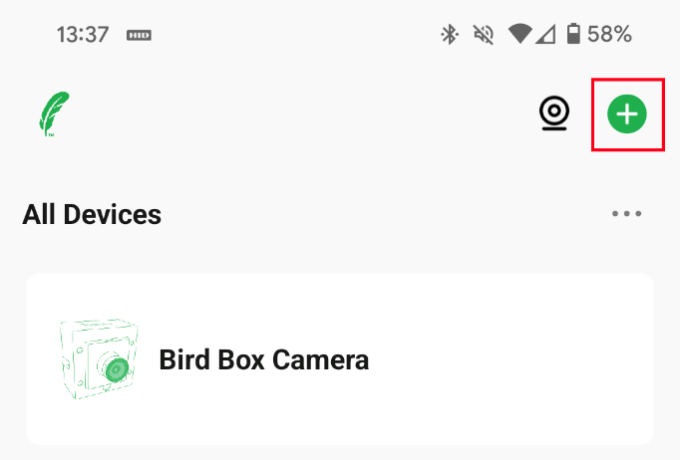
The first time you go to the Home page, you can choose to allow the app to use your device location. This is not essential, but helps with some features. Next, click the green ‘+’ icon at the top right of the screen.
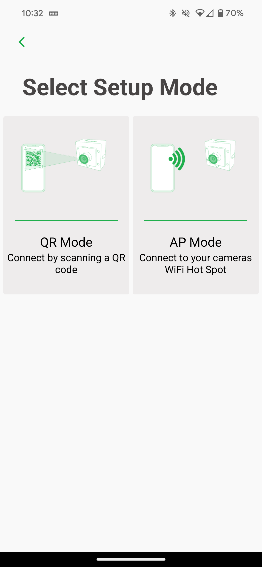
Now select the model of camera you are setting up, then select “QR mode”:
3. Setting to QR mode and resetting the camera
Follow the instructions on the app or below to reset the camera.
Now tick ‘Next step’ and select ‘Next’.
4. Entering the WiFi details
Now you need to enter the details of the WiFi network that you want the camera to connect to. The name of the WiFi network which your phone or tablet is connected to should be automatically filled in, so just enter the password. To change the WiFi network your device is connected to, tap the icon to the right of the WiFi name:
5. Scanning the QR code
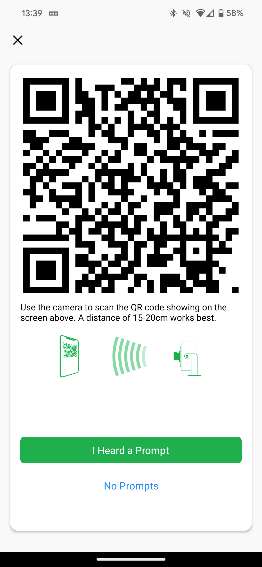
When you select ‘Next’, the app will display a QR code to you. Point the camera 15-20cm away from the QR code, directly facing the screen, and the camera should register it and say ‘Connect router’. When it says this, tap the ‘I Heard a Prompt’ button.
If the camera is not scanning the QR code, try slowly increasing or decreasing the distance between the camera and phone screen to bring the QR code into focus. It can sometimes be easier with the phone placed on a flat surface to help keep the camera pointed in the right direction while slowly moving it.
It is also possible to re-adjust the focus on the lens which can be done by gently twisting it. The nut around the bottom of the lens will need loosening first. It is best to adjust the lens a small amount at a time as it shouldn’t be far out of focus.
After you have tapped the ‘I Heard a Prompt’ button, the app should automatically begin connecting to the camera.
After a minute or so, it should have found the camera and added it to the app, you can set a name for the camera now, or later on in the settings menu.
6. Troubleshooting
If the camera does not connect to your WiFi:
If you have connected it to your internet router, but it shows the message ‘Establishing encrypted channel‘ and doesn’t load:
Remember, this guide only applies to the 3rd Gen NCIP3WF which was released in December 2020, if you have an older model of the camera have a look at our guide for the NCIP9WF or for the NCIP2WF. If you are unsure which camera you have, have a look at this article.
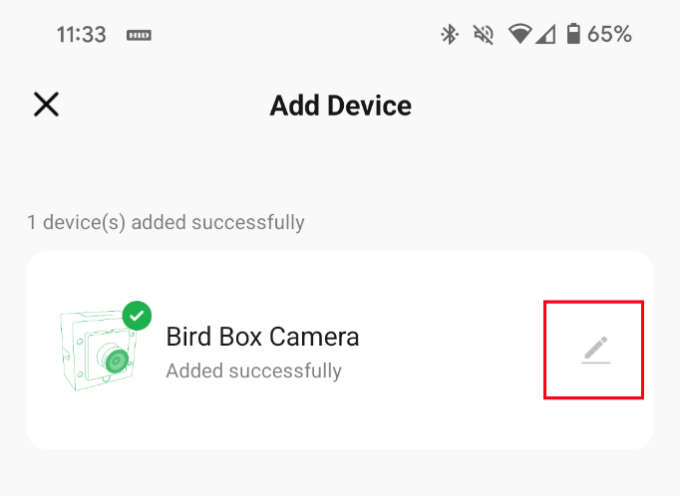
7. Adding and renaming the camera
Now you can rename the camera by tapping the pencil icon to the right of the camera name. Once it is added, to view the camera go back to the ‘Home’ page using the icon at the bottom left then select your camera from the list.
To view the camera go back to the ‘Home’ page using the icon at the bottom left then select your camera from the list.
To do next
Getting started with your Solar Powered Battery Camera
To view the settings for the camera, select the pencil and paper icon at the top right of the camera live feed. To find out more about the settings, have a look at this guide.
To read about the motion detection settings, have a look at this guide.
If you want to get the device added to other phones, tablets or computers, you won’t need to go through this process again, just follow this guide to get it done in a few minutes.
For a list of all the useful guides we have for this camera, you can look here.
Hints & Tips
Wired Bird Box Camera 3rd Gen setup via Green Feathers app
This guide only applies to 3rd Gen Green Feathers Wired Bird Box camera (GFIP3) or Garden Wildlife camera (GFIP320BWF) when not using WiFi
If you are unsure which model of camera you have, have a look at this article.
Before you begin
Download the Green Feathers app for Android from the Google Play store by clicking here.
Download the Green Feathers app for iOS from the App store by clicking here.
Let’s get started
To get started, open the app:
1. Registering an account
Once your account is all set up, just log in to the app!
2. Selecting the connection method
On the Home page, click the green ‘+’ icon at the top right of the screen.
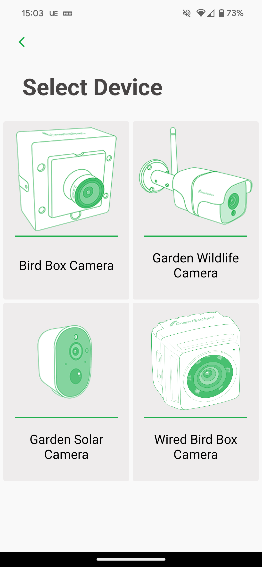
Select the type of camera that you have from the grid shown, for wired setup it will either be Garden Wildlife Camera or Wired Bird Box Camera.
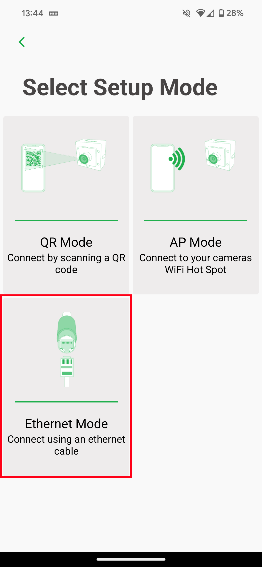
Now select Ethernet mode and follow through the prompts that show on the screen to connect your camera.
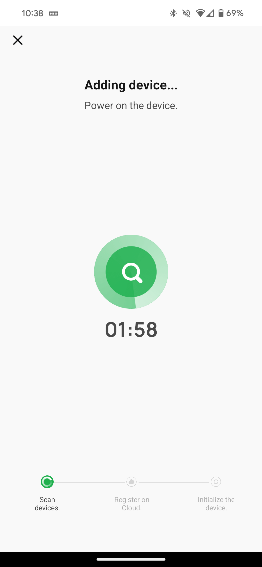
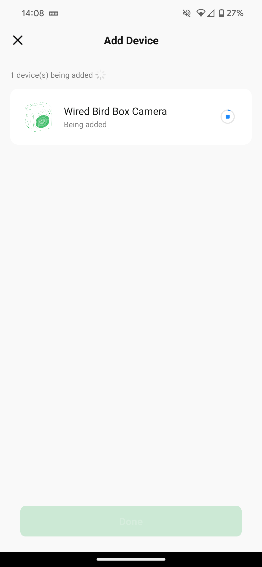
The app will start searching for your camera with a 2minute count down, once it has been found you will be presented with the screen below.
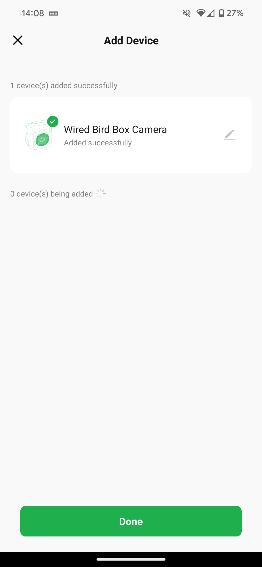
Once the circle has filled and the camera is connected to the network, you can set a name for the camera by tapping on it.
If the camera does not connect at this stage, try going through the wired setup steps again without resetting the camera.
4. To do next
To view the settings for the camera, select the pencil and paper icon at the top right of the camera live feed. To see the meanings of the settings, have a look at this guide.
If you want to get the device easily added to other phones, tablets or computers, you won’t need to go through this process again, just follow this guide to get it done in a few minutes!
5. Resetting the camera
1. Power on the device and wait for it to play three notes to indicate it has started up
2. Press and hold the reset button for 5 seconds; you will hear it say ‘Reset, camera reboot’.
3. When the camera starts saying ‘Wait for Wi-Fi config’ or has a flashing red indicator light, tick ‘Next step’. Once your camera has been reset you can re-connect it to Wi-Fi.






Add Comment