For our new T900A DVRs/ H.265 NVRs, follow the instructions below to enable the NAT/P2P mode for easy remote viewing of your AVYCON System:
1. Move your mouse to the bottom of the screen to bring up the menu bar and click on the Start button and then click on Settings.
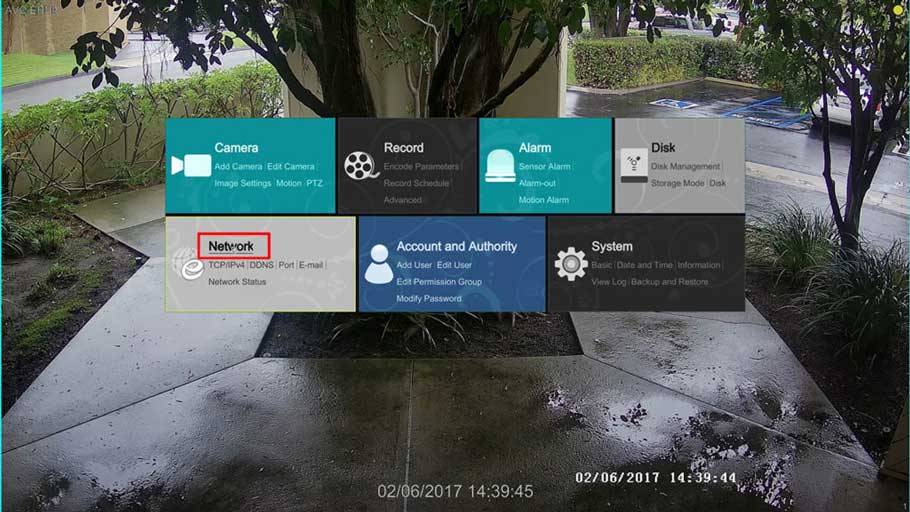
2. From the On-Screen menu, click on the Network text located on the Network tile.
3. Once in the menu area, the menu should take you to the TCP/IPv4 section. From within this section, if it isn’t enabled already, enable the “Obtain an IP address automatically” option. This will allow your DVR to talk to your network/router correctly and get on the network with minimum configuration. Also make sure to enable the option “Obtain DNS automatically” as well.
4. After enabling the “Obtain an IP address automatically” and “Obtain DNS automatically” options, make sure to click on the Apply button on the bottom right of the menu to save these changes.
5. From within the same Network section in the menu, click on the section titled NAT. In this menu, you will need to make sure there is a check in the box next to Enable and then hit the Apply button. This will enable the P2P mode which allows you to view your cameras remotely without having to configure any port-forwarding in your router or modem.
6. With the NAT mode enabled in your DVR, you will need to make sure that the DDNS option is disabled. To check or configure this, click on the DDNS link from within the Network menu and you should see the screen above. Make sure that there is no check in the box next to Enable. If there is check mark there, make sure to disable it and then hit the Apply button. Now we need to exit the menu. Click on the X located in the top right corner and then right click on the Live View screen to disable the menu.
7. We will now just restart the DVR to make sure all changes have been applied. Move your mouse down to the bottom of the screen again to bring up the menu bar and click on the Start button again. Click on the Shutdown option.
8. Choose the Reboot option and click on the OK button to restart your DVR. When your DVR has fully rebooted, navigate back to the Network->NAT section to bring up the QR code on your screen.
9. Download and open the AVY Mobile CVMS app on your mobile device and then tap on the Menu button at the top left of the screen and then tap on Server List.
10. In the Server List menu, you will need to tap on the + button on the top right of the screen, which will take you to another page to add your DVR/NVR to the list of servers.
11. From within the Add Device page, you can now scan the QR code that is showing on the monitor connected to your AVYCON DVR/NVR. To accomplish this you must tap on the scan button located to the right of the My Device field. This will activate the camera on your phone to allow scanning of the QR code. If this is the first time launching the app, it might ask you for permission to use the camera. Please allow it to use the camera in order to scan the QR code correctly.
12. To scan the QR code correctly, move your camera accordingly to put the QR code within the borders that appear in the center of the screen. It will only need to be steadied for less than a second in order for the QR code to scan.
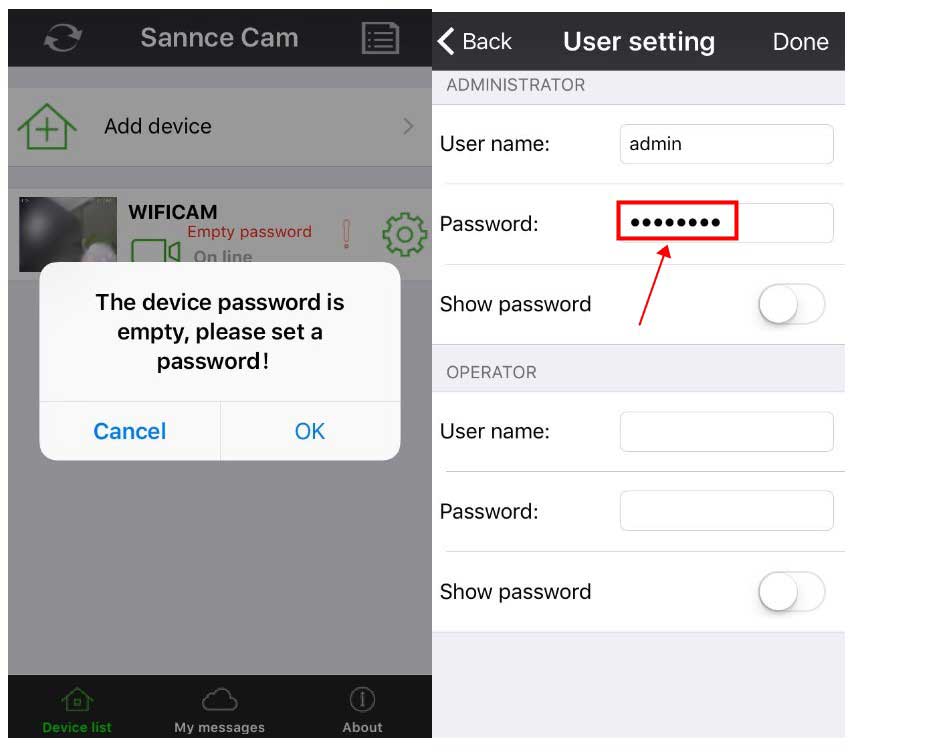
13. Once the QR code has been scanned correctly, it will put the code in the My Device and Nickname fields. All you will need to is put in the correct username and password that you had created. If you haven’t changed the password yet, the default is 123456. Make sure to double-check the username and password you entered and then tap on the Play button.
14. If you have entered all information correctly, you should see your cameras start to pop up in the Live screen. If your cameras are still not showing, please feel free to contact your distributor or AVYCON for more assistance.







Can you write your contact number?
hello nice sharing thanks