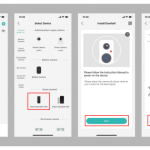
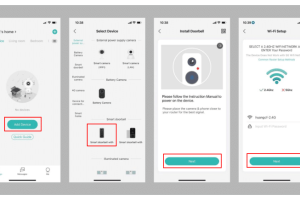
For set up the Geeni smart cameras first, you have to follow the below instructions after that follow the setup process.
Instructions.
- Know your Wi-Fi network and password.
- Make sure your mobile device is running iOS® 8 or higher or Android™ 4.1× or higher.
- Make sure you’re connecting to a 2.4GHz Wi-Fi network. (Geeni can’t connect to 5GHz networks).
Set-up process.
1. Download the Geeni app from App Store or Google Play.
2. Register an account on your Geeni app & log in to the App.
For registration in Geeni App follow the below instructions.
- After downloading the Geeni app open it & go to the register option.
- (For registration you must have a mobile number or any email address active as you’ll receive verification code)
- Enter your mobile number with your country code or your email address & after that enter the verification code.
- Now you need to create a password & confirm it.
- Log in the app.
3. Plug in the device and reset it.
Open the Geeni app & add your device you can add the devices easy mode & AP mode
4. For easy mode:
- In the Geeni app, on the top right corner of the Devices screen, click (+). Choose “Video Camera”. and click on Geeni wi-fi camera.
- Make sure the indicator light on the device is blinking Red, shows that the device is ready to connect. If not, follow instructions to Reset the device so that indicator light should blink red, then press “Yes, It’s blinking red”.
- Enter your Wi-Fi network and password.
- The Geeni app will try to connect to your device. During this time, the camera will beep, continue blinking Red, and then will turn solid Blue.
5. For back up Ap mode:
- Make sure the device is blinking red.
- In the Geeni app, on the top corner of the Devices screen, click (+). Choose “Video Camera “. and select Geeni Wi-Fi Camera & Choose “QR Code” in the top corner.
- Click Next and enter your Wi-Fi details.
- Scan the QR Code with the camera.
- If you heard the camera beep, press “I heard the beep” and it will add your camera.


Add Comment